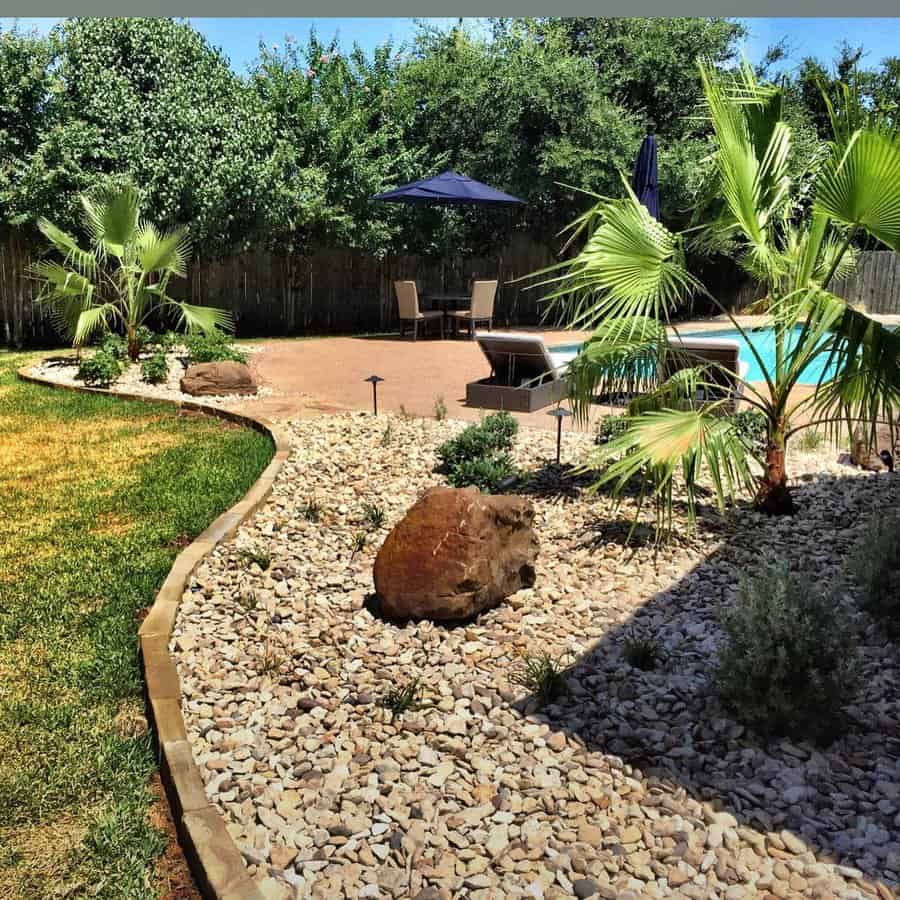
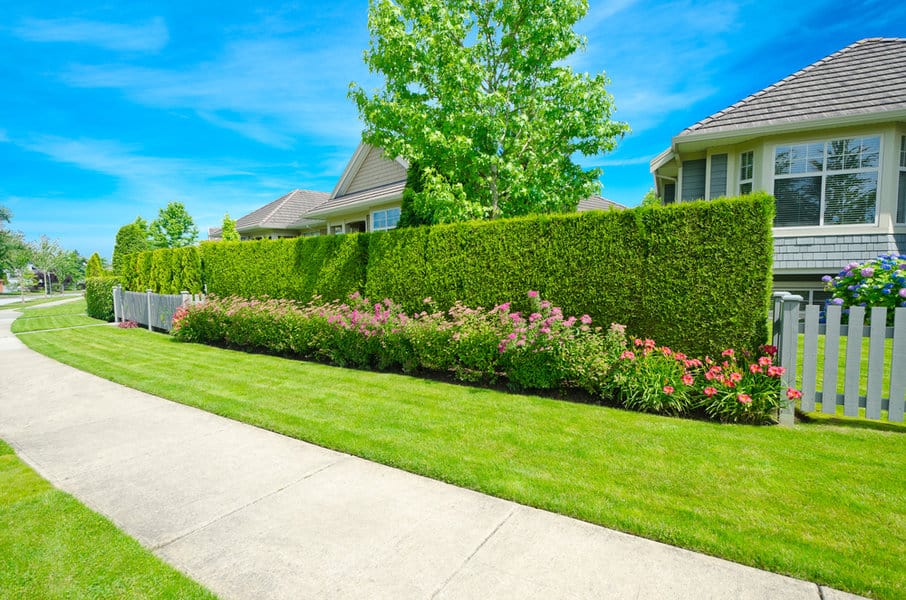
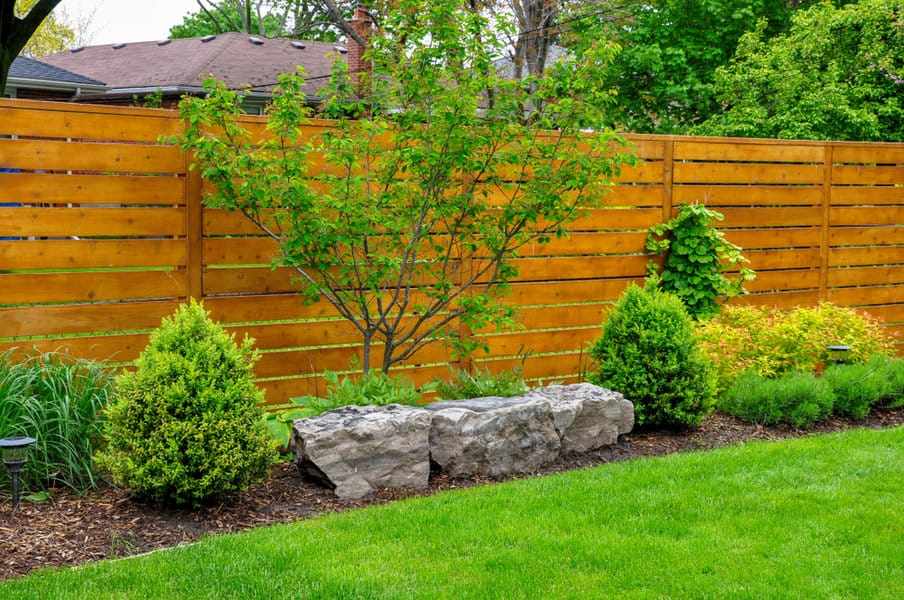
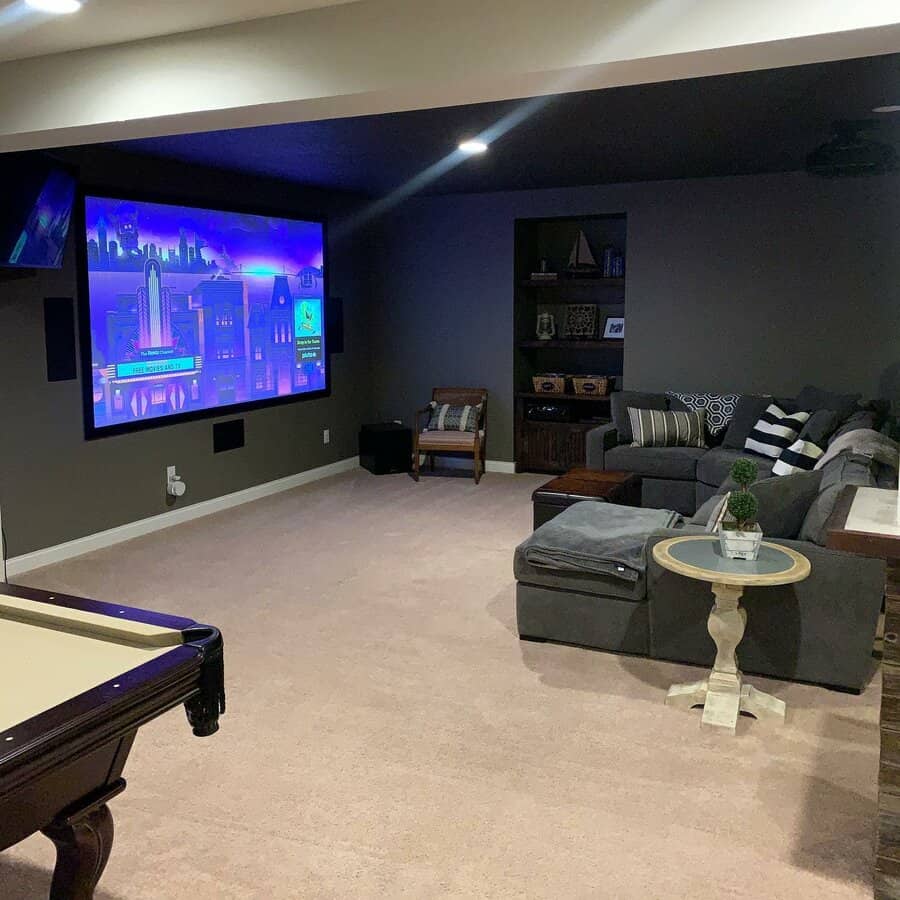
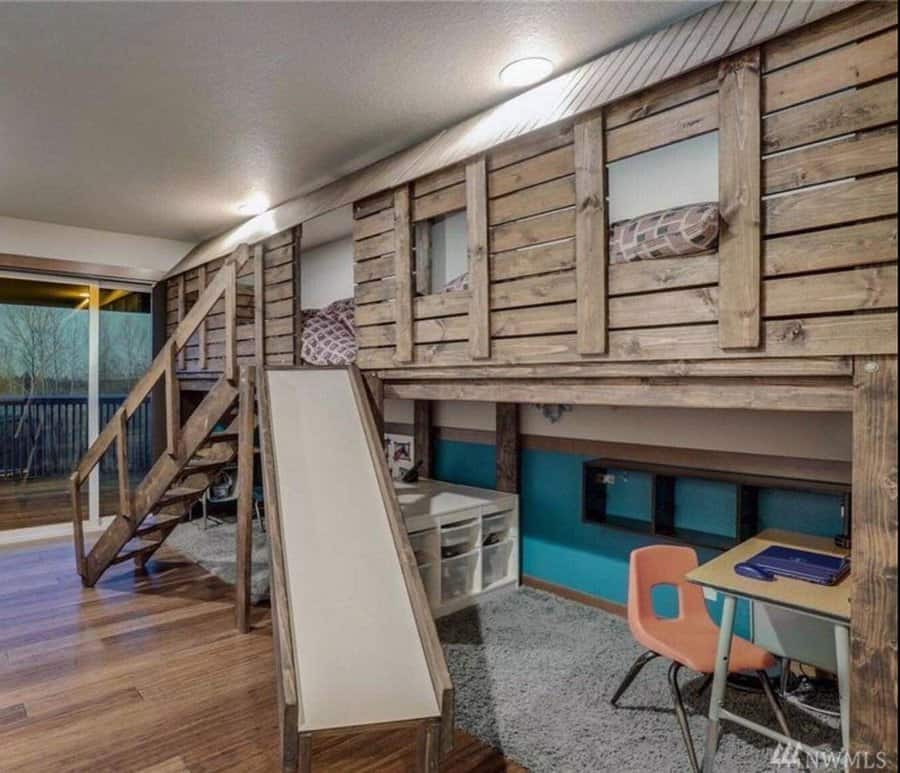
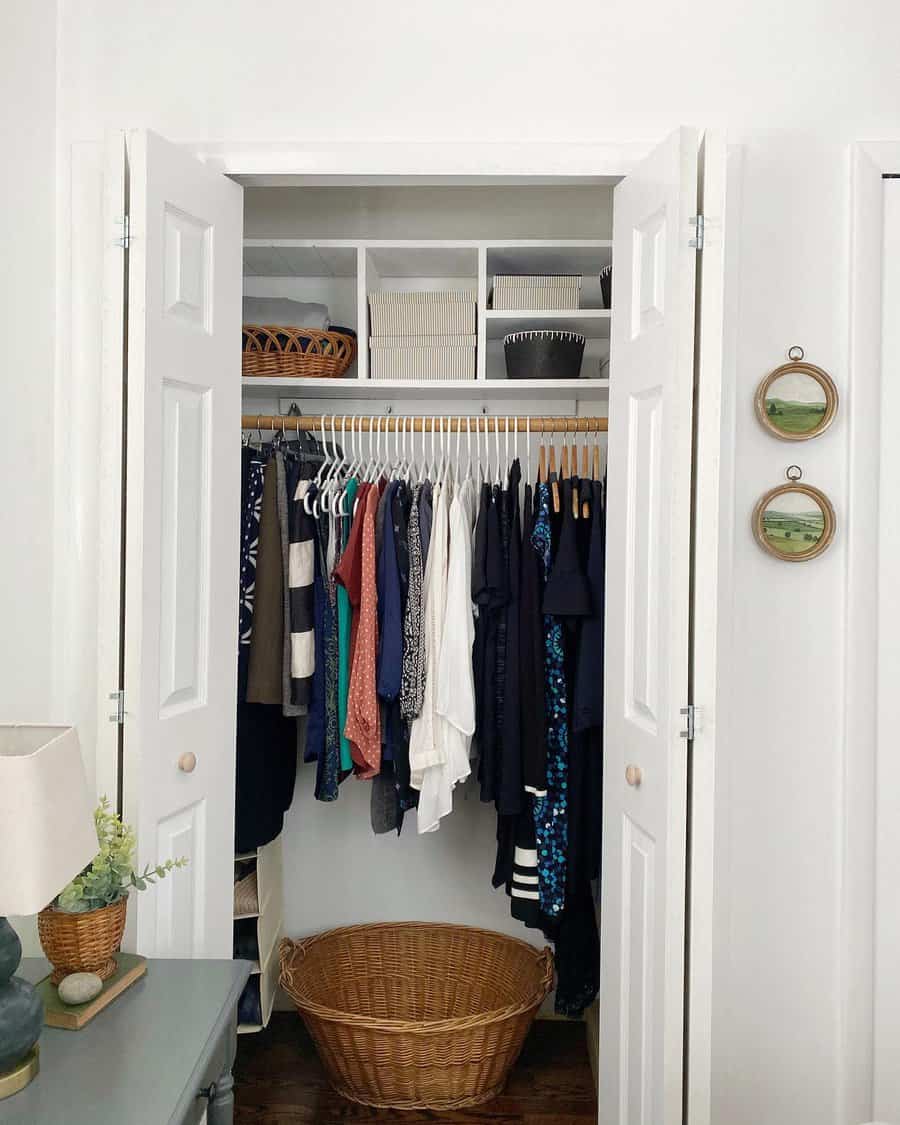
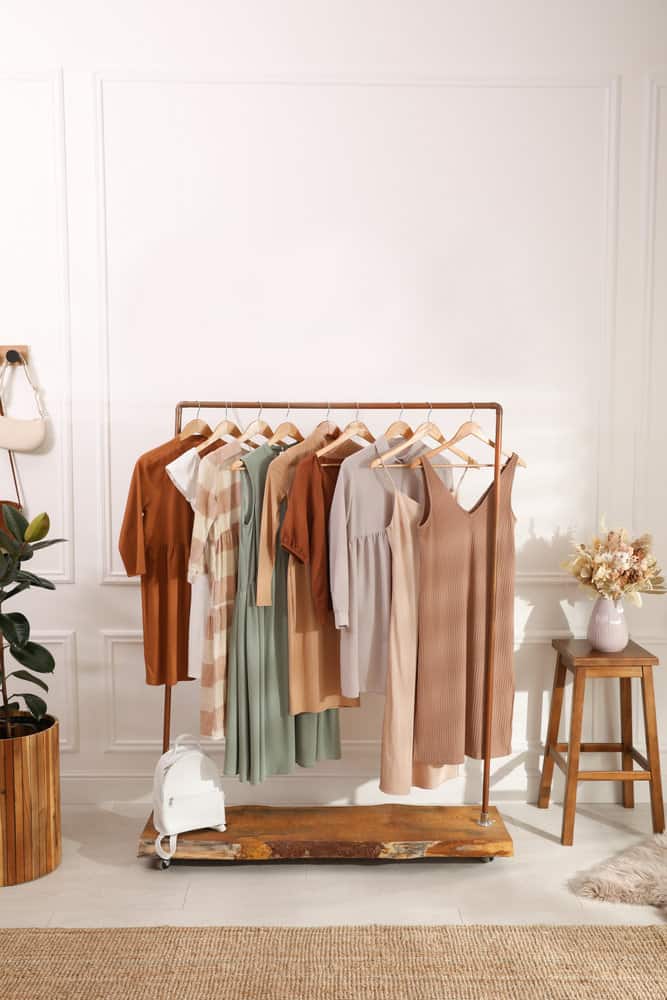
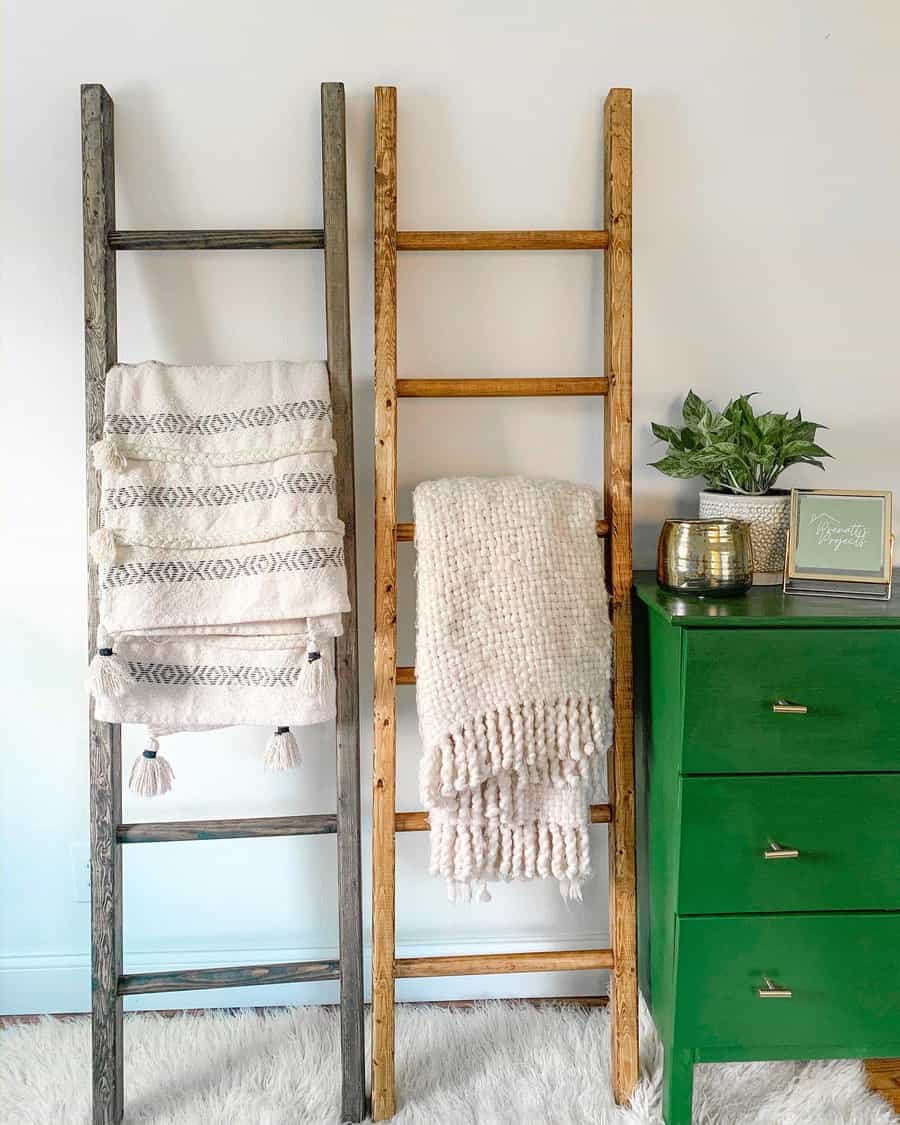
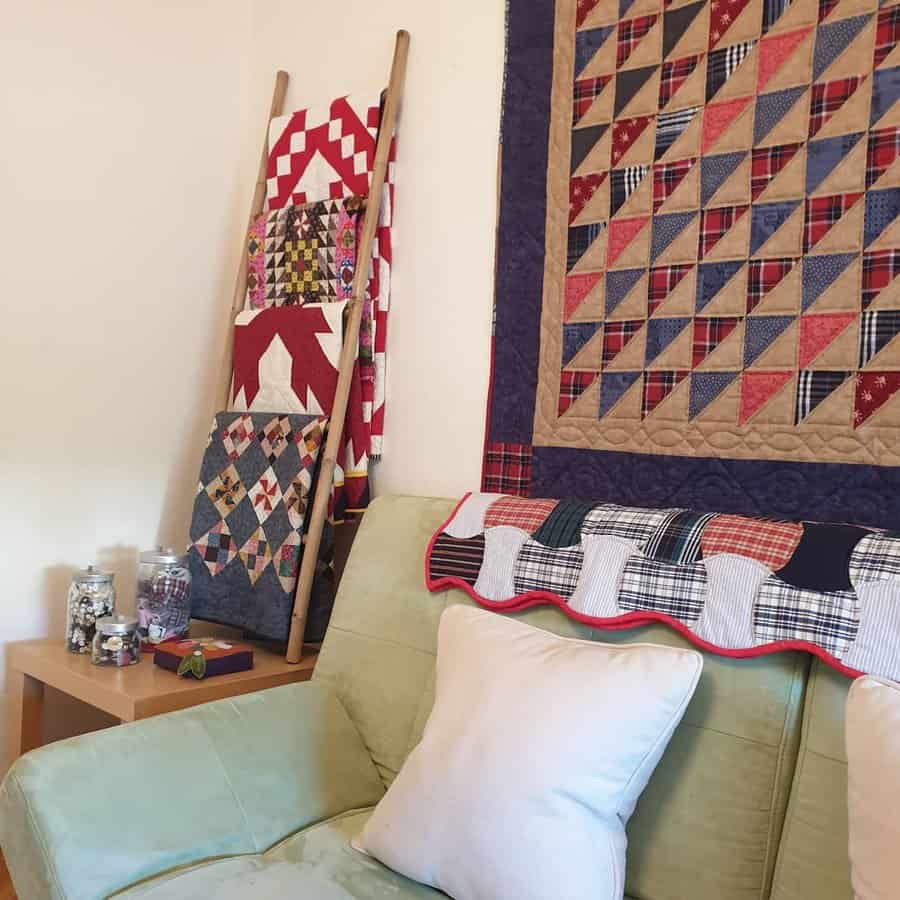
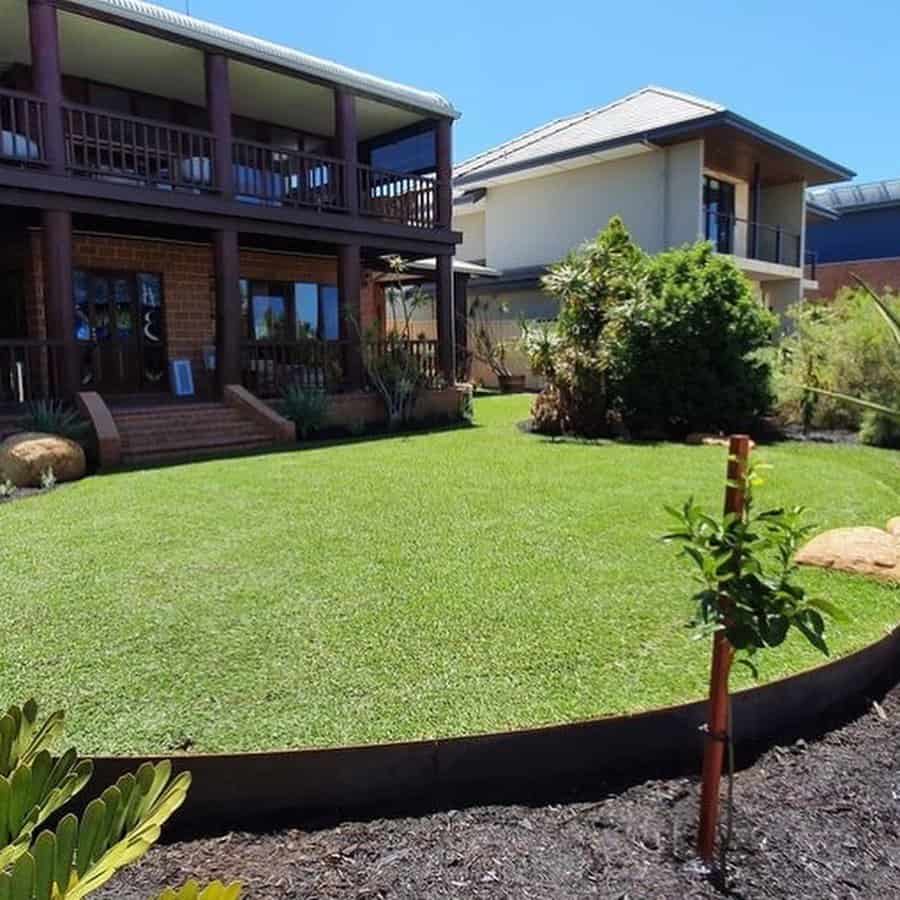
Your floors have as big of an impact as the walls in your house. This is because these two surfaces take up the majority of the visual space. Because of this, it is important that the two coordinate and complement each other.
So, this leaves you with a dilemma; how to match wall color with wood floors. Knowing how colors interact and look with different types of wood floors will help you choose the most flattering wall paint color for your room.
Keep this guide in mind when choosing your color palette and you will have a room that showcases the beauty of the wood and feels comfortable to be in.
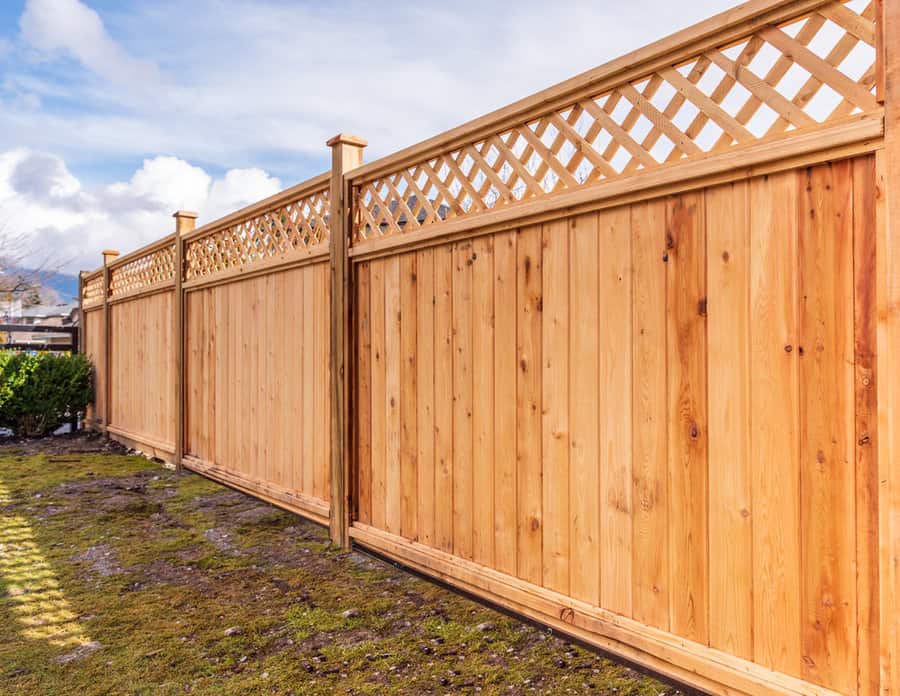
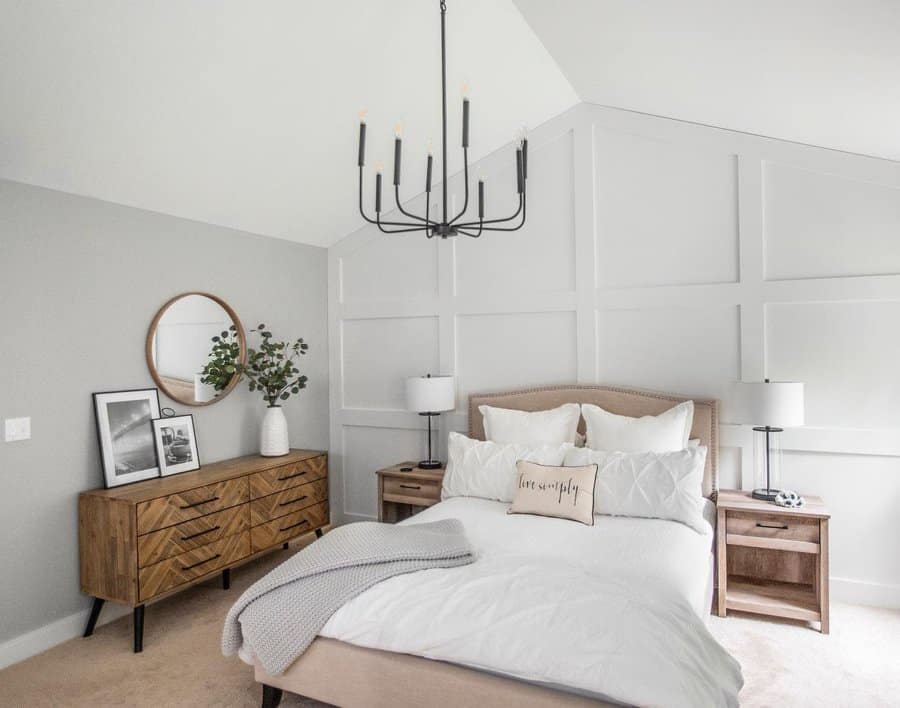
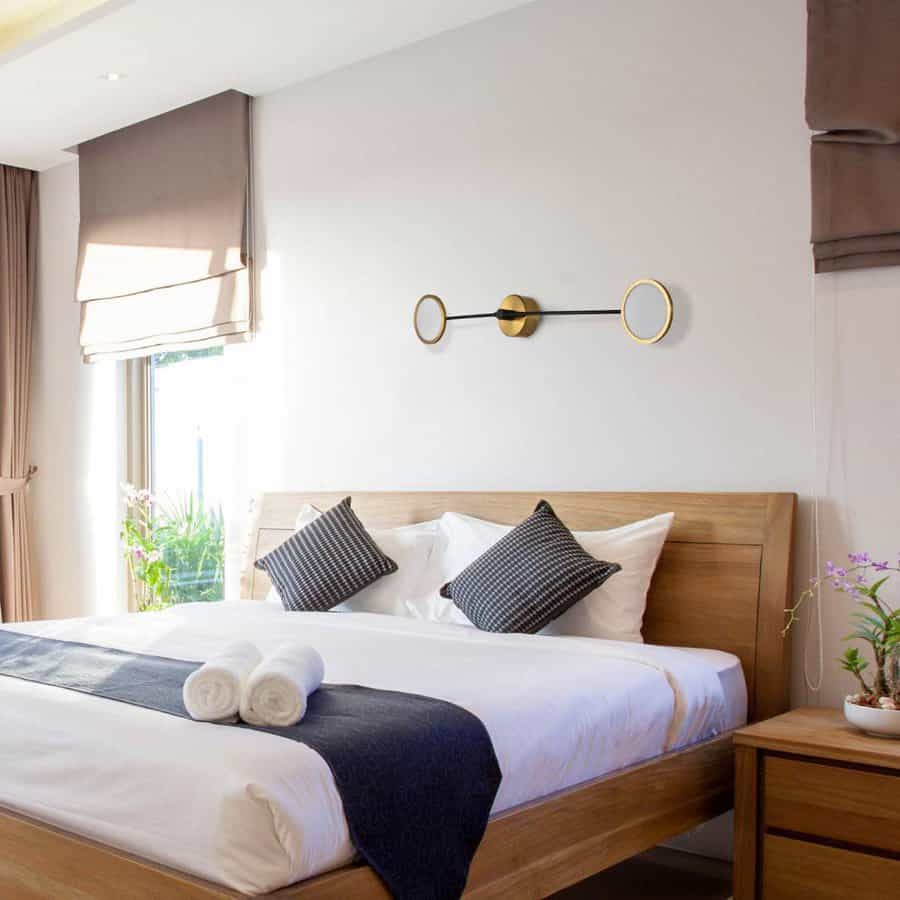
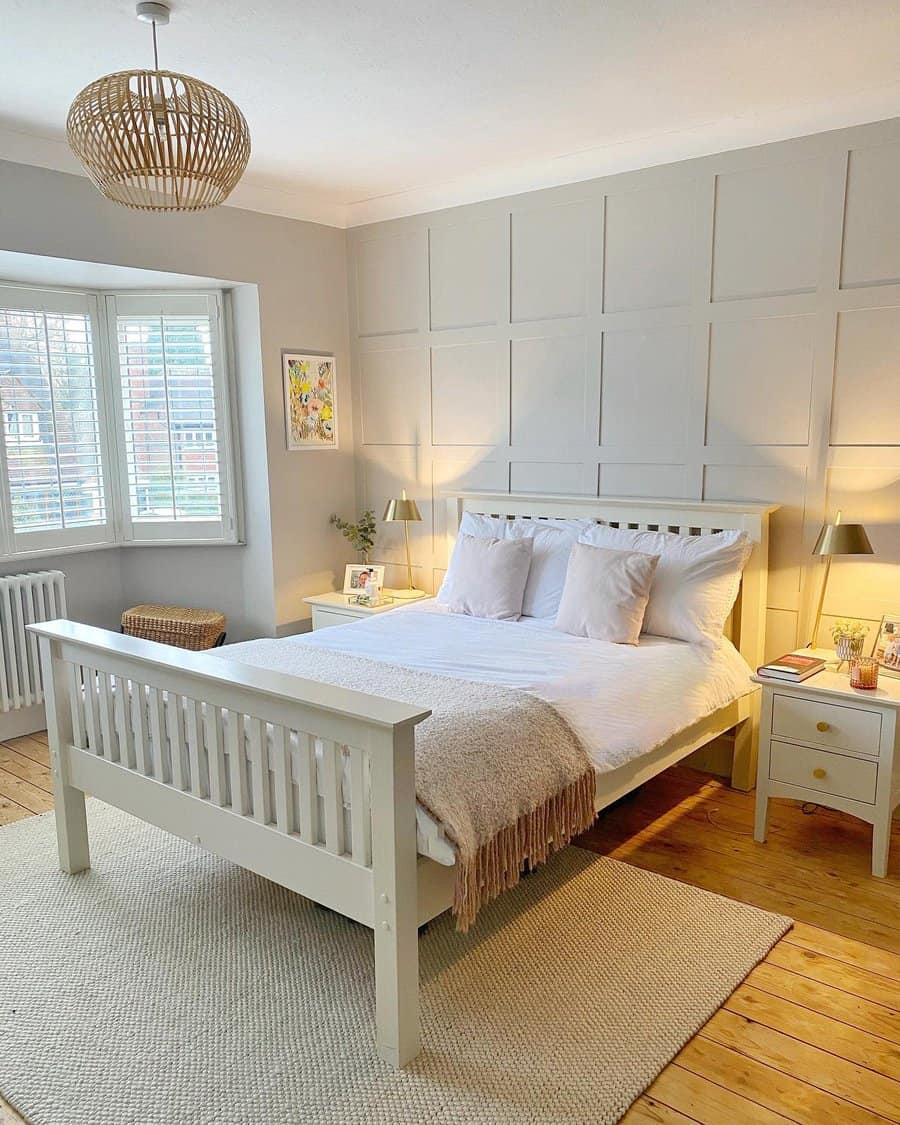
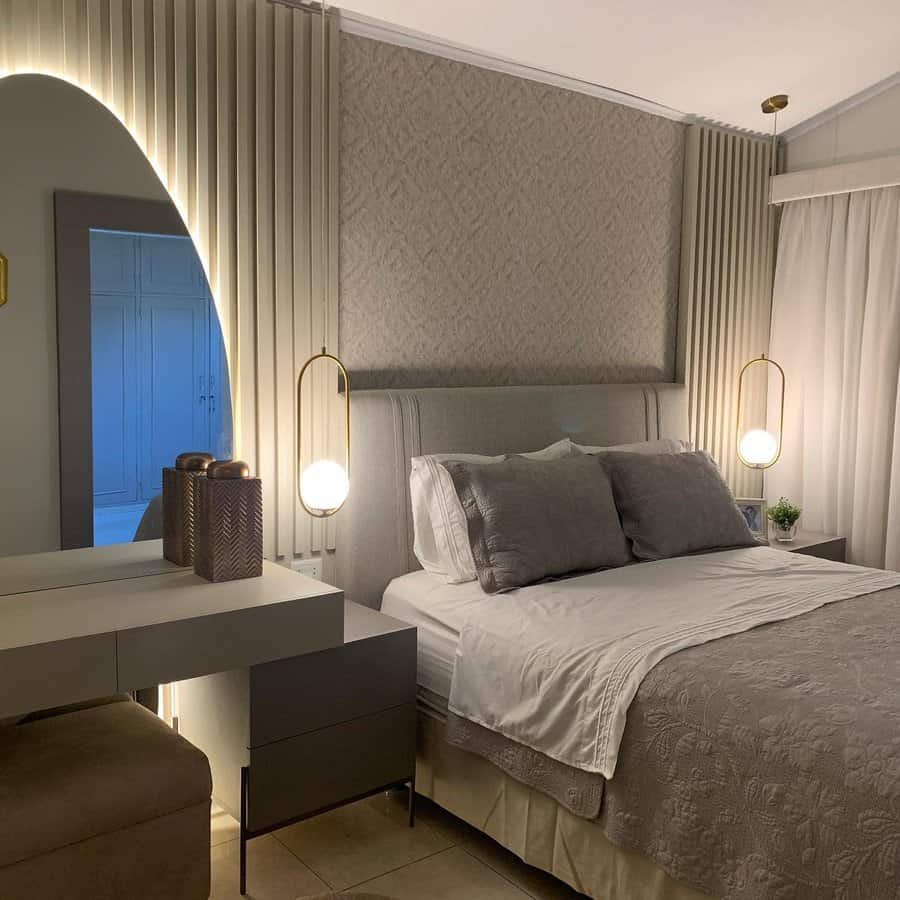
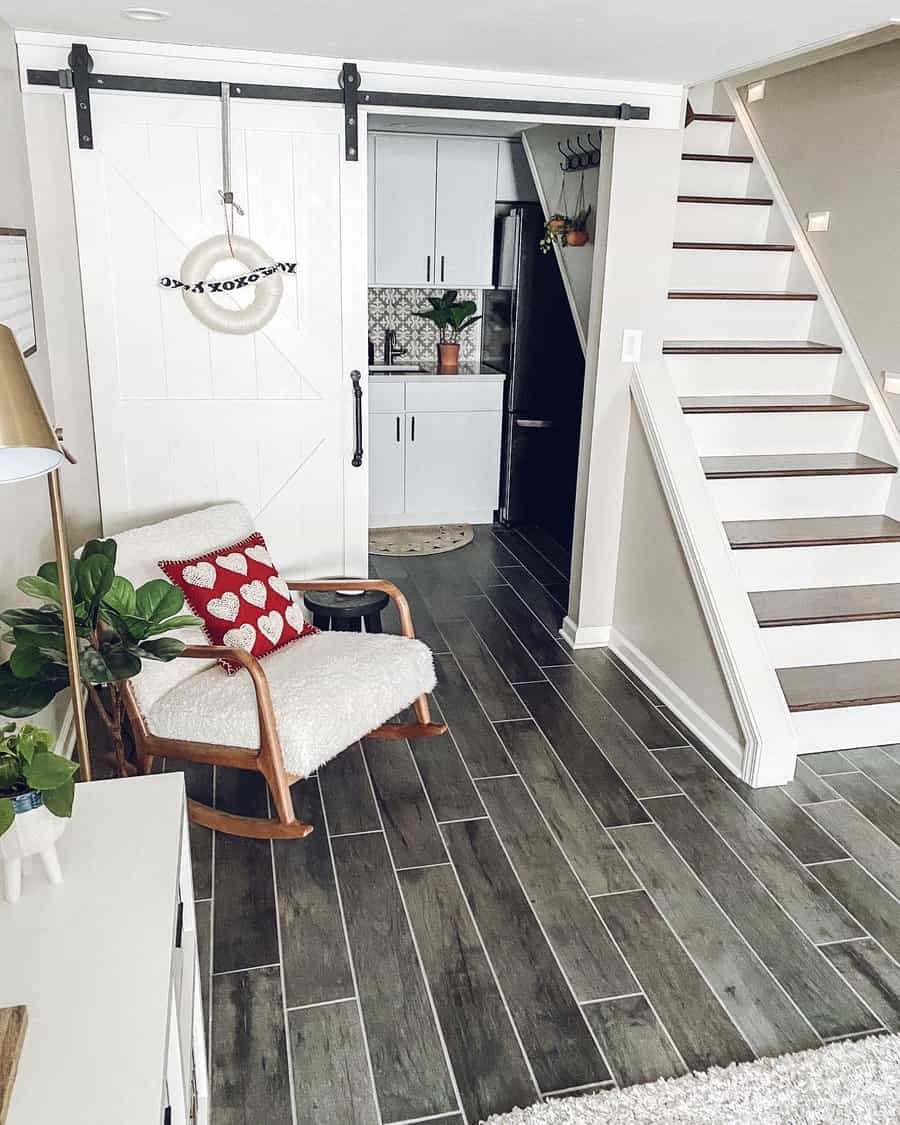
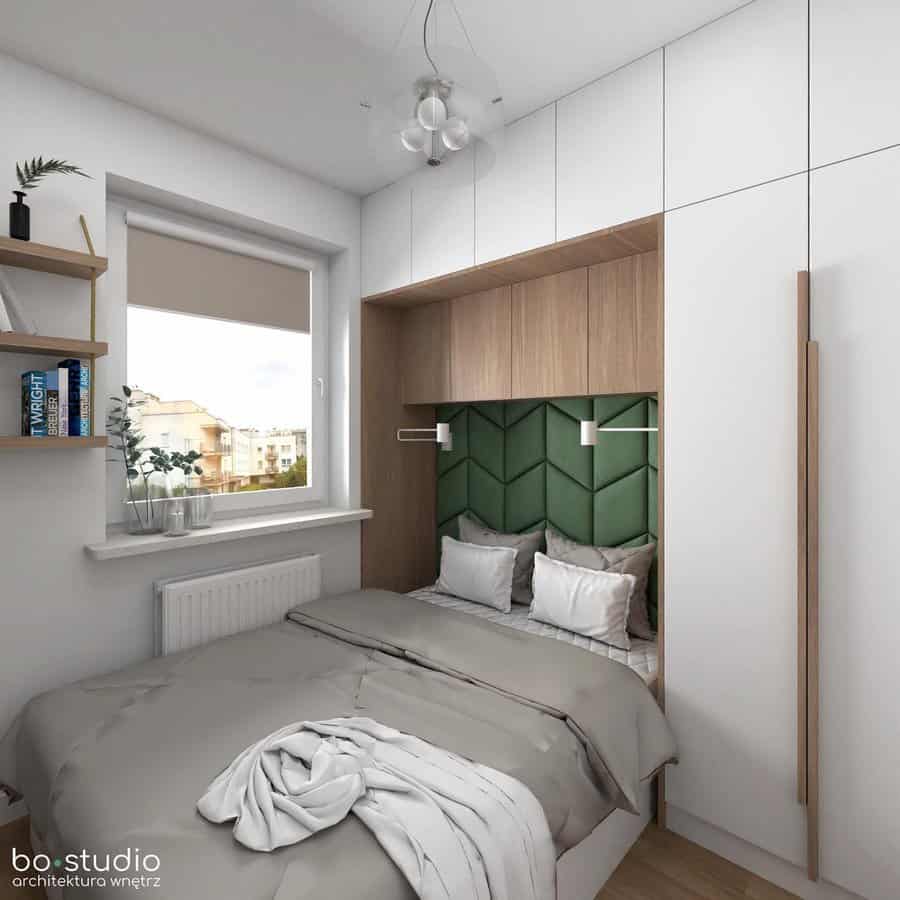
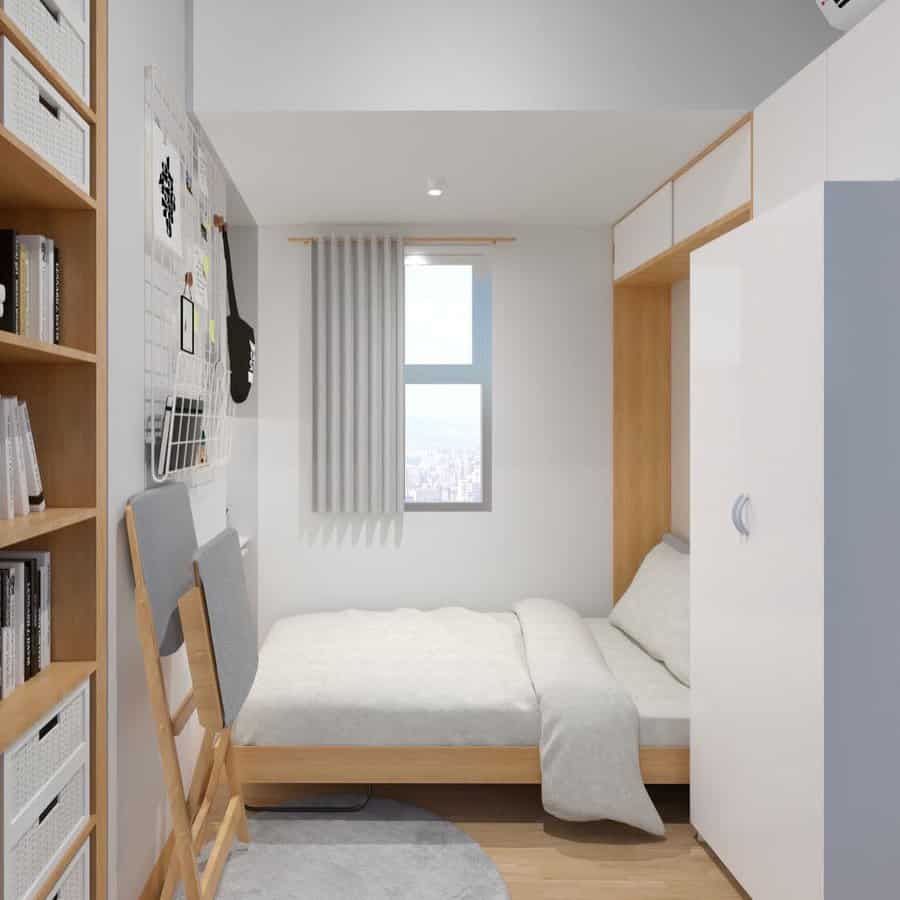
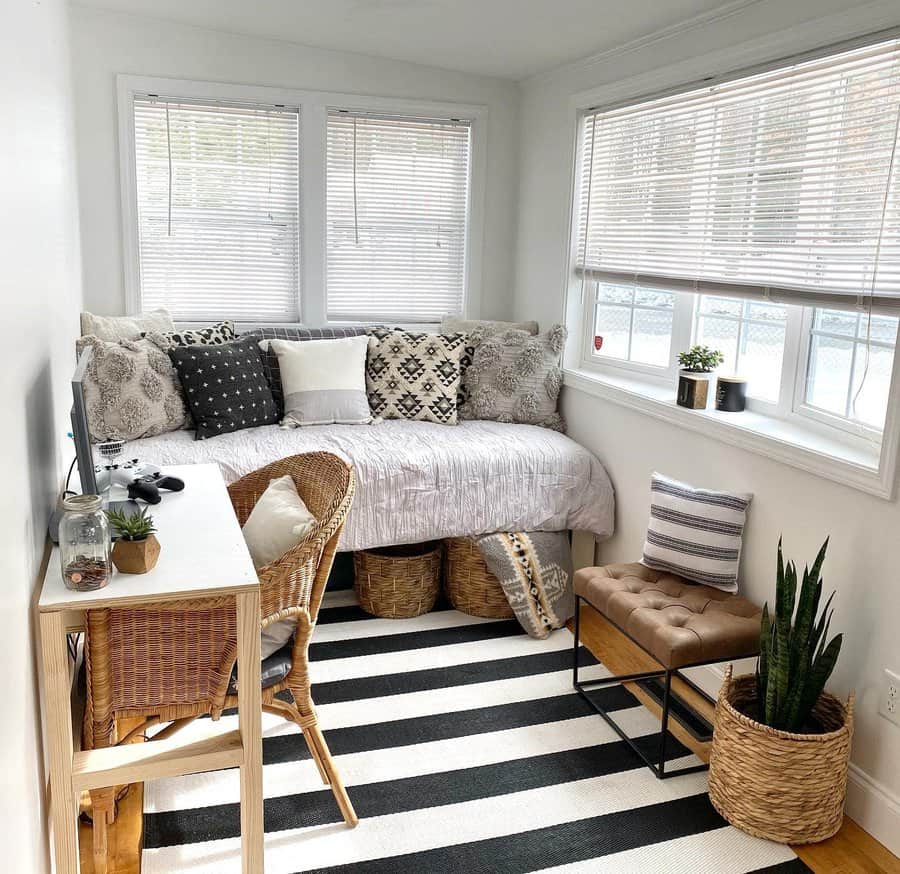
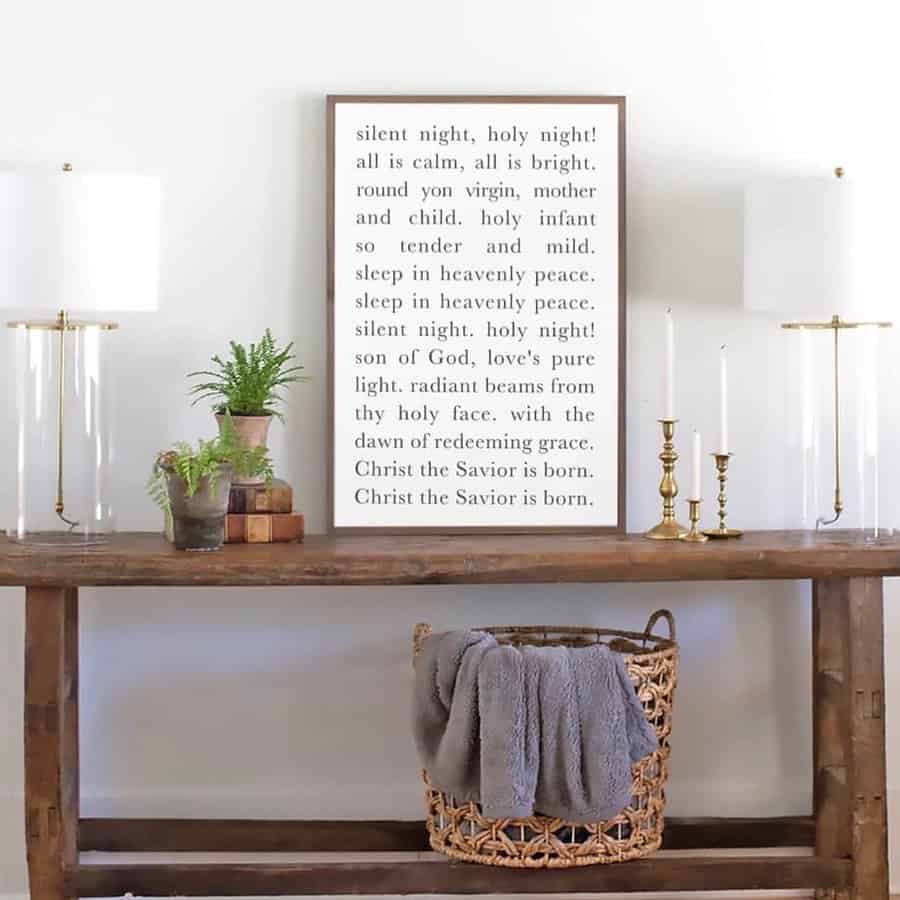
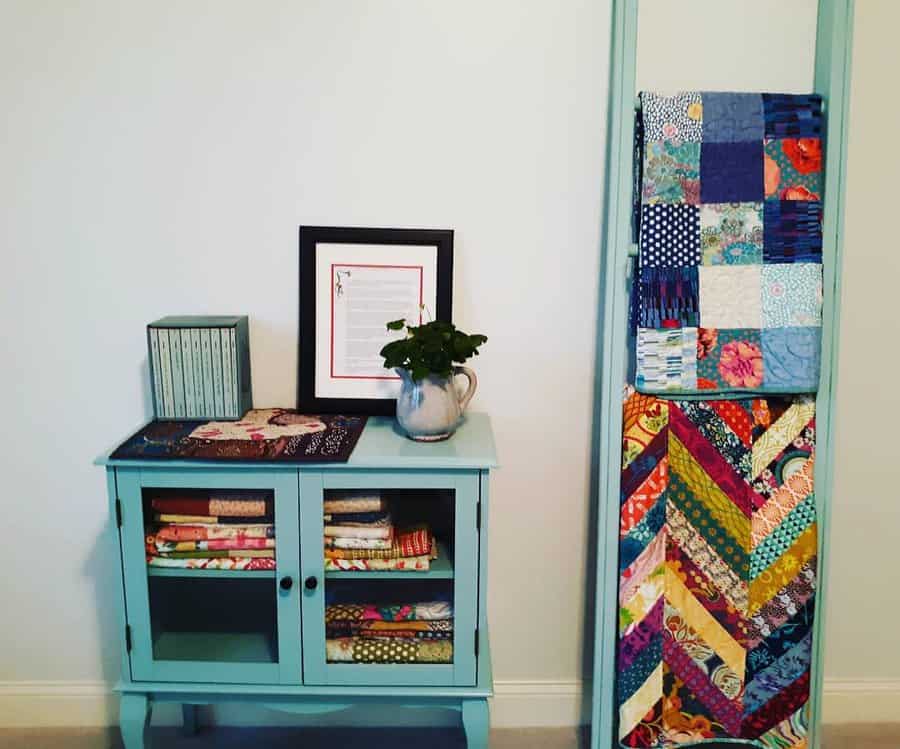
Light Hardwood Floors
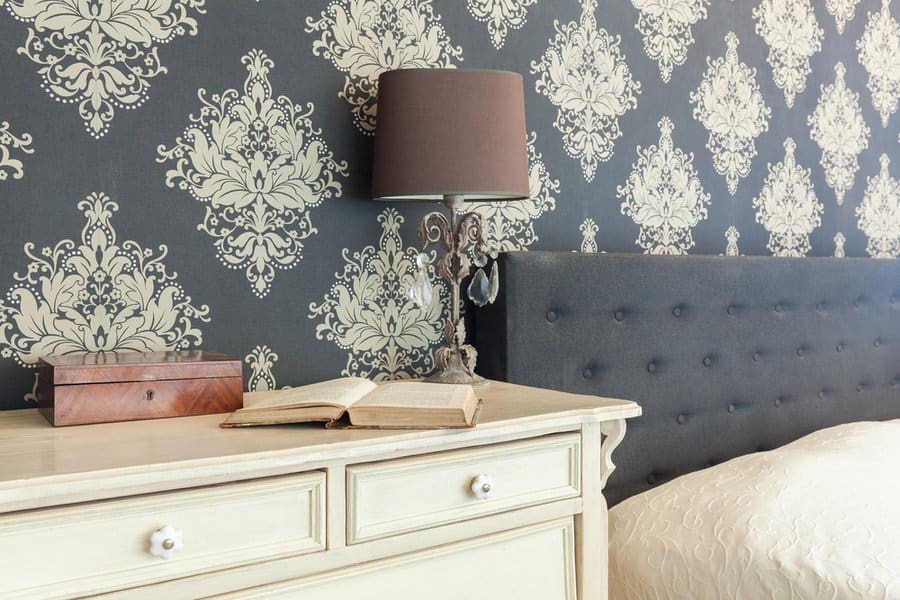
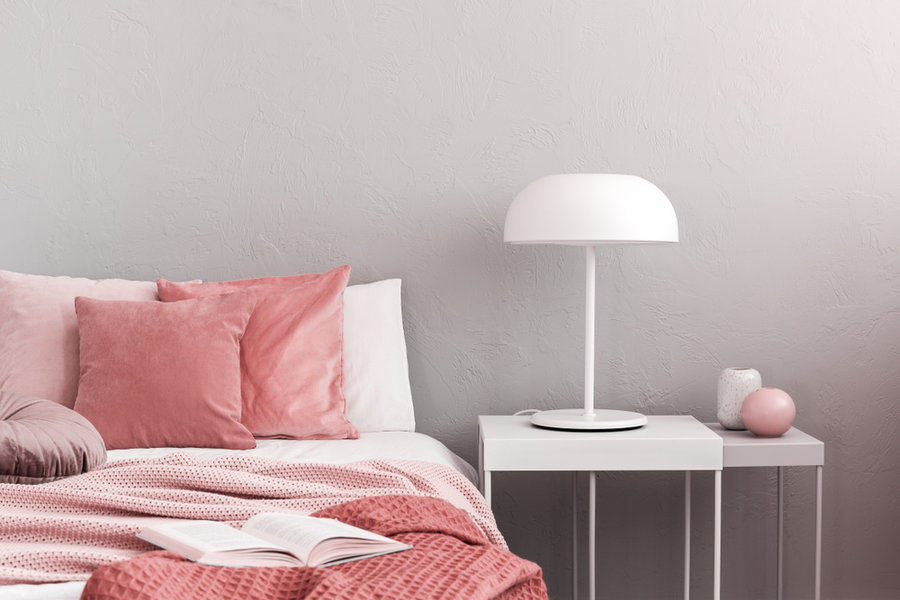
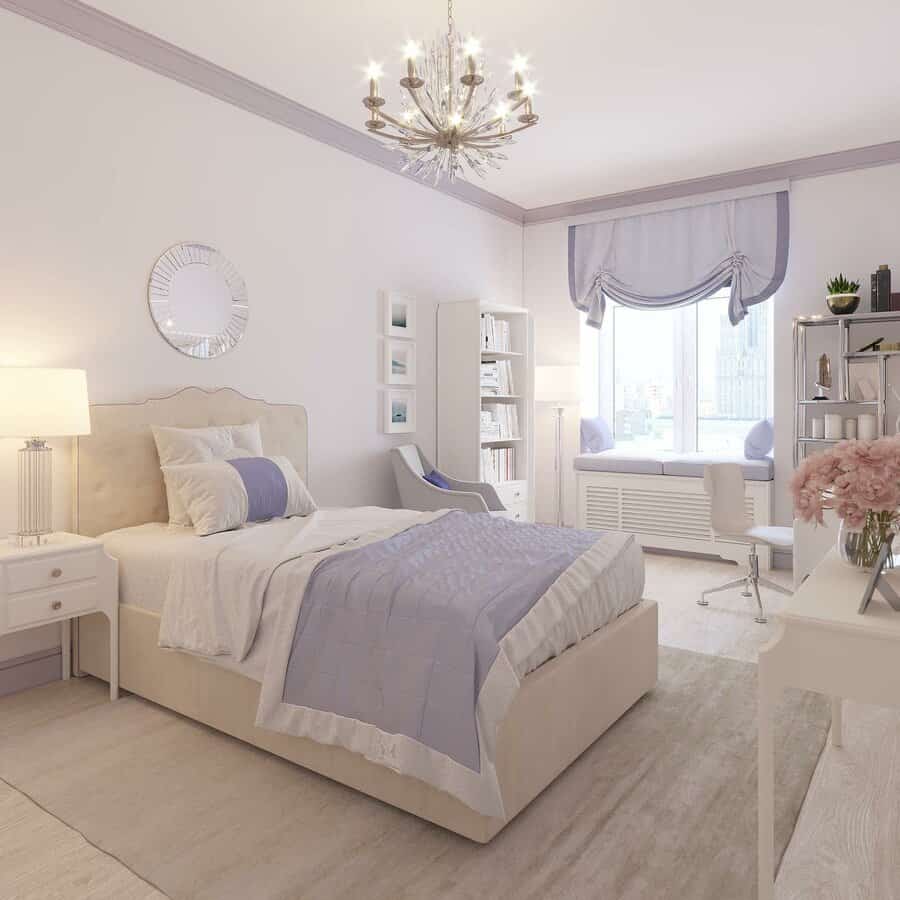
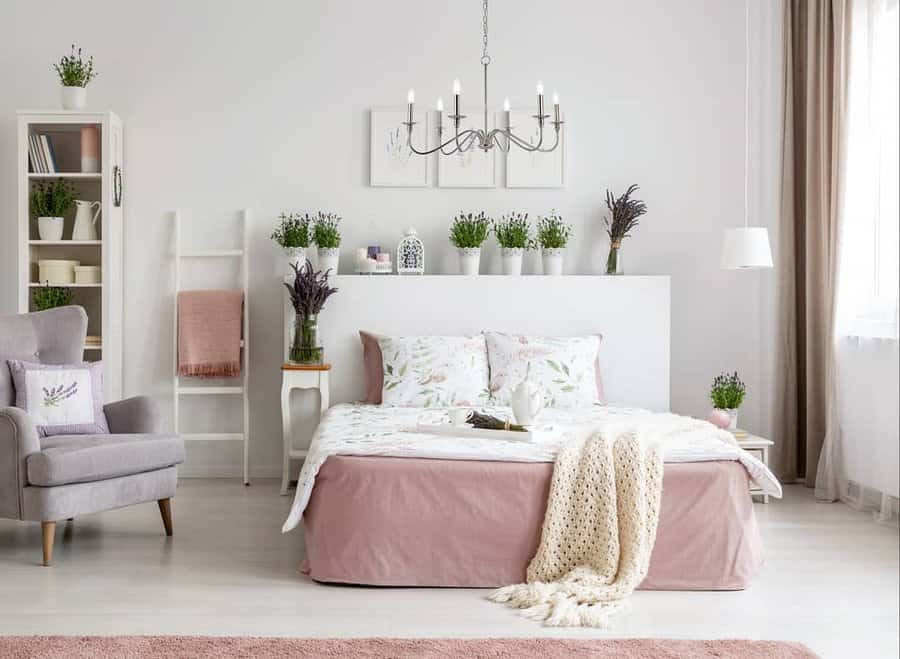
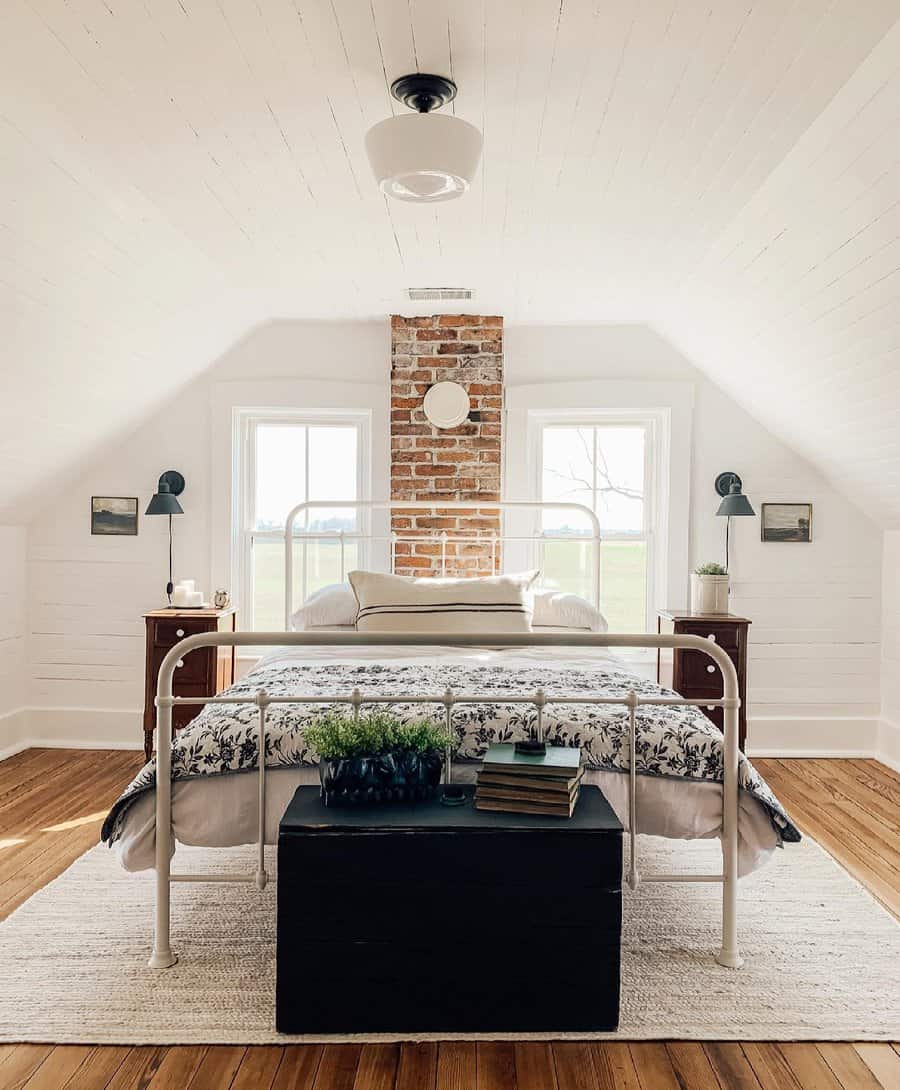
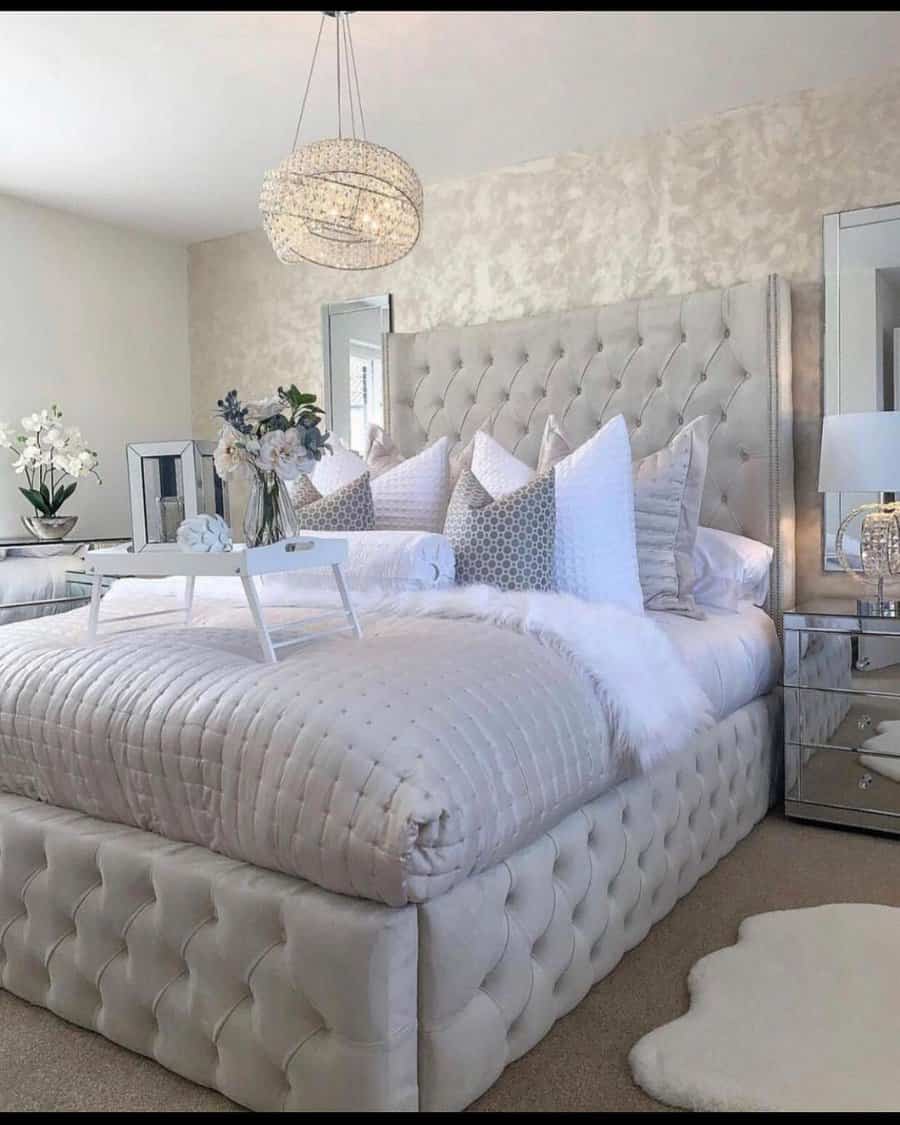
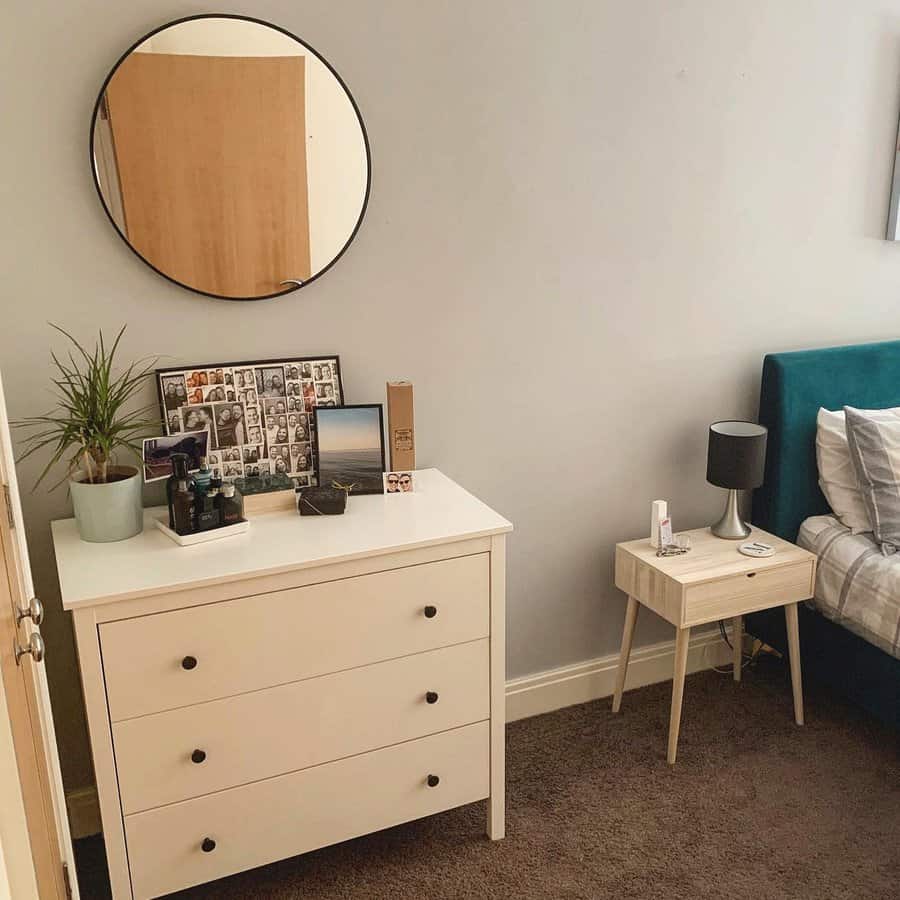
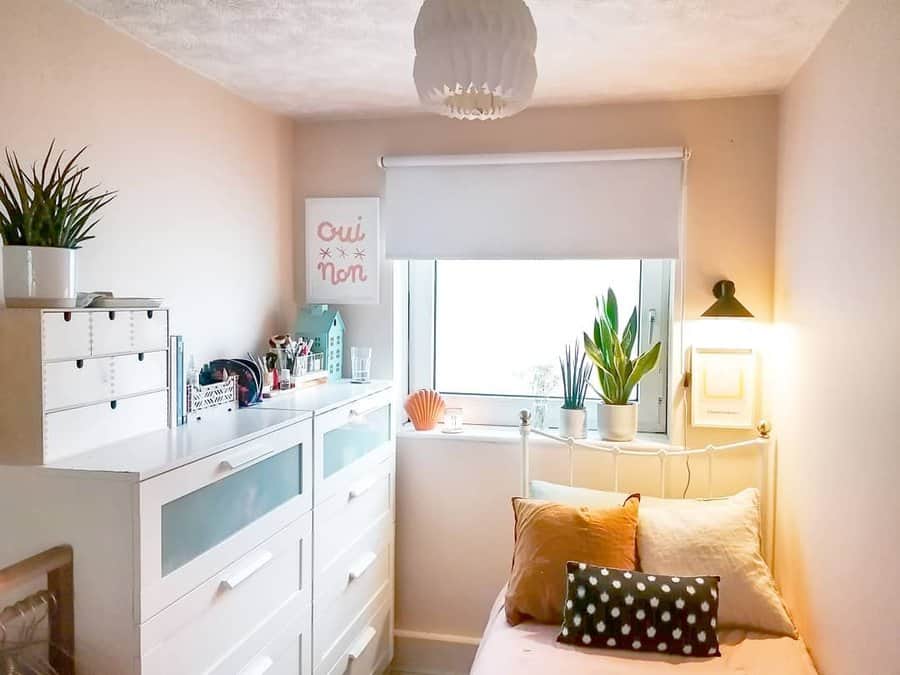
Light floors significantly brighten a room because they reflect the natural light coming in back up. Using a color palette with white, off-white, and cream pairs beautifully with light wood floors because it creates an all-white aesthetic but is softer, warmer, and more welcoming.
Not all white wall paint is the same, though. If your light wood floors have honey hues, then choose whites with yellow, pink, or peach hues. If your light wood floor looks more grey, then choose a cooler white with blue, purple, or even slight green tones.
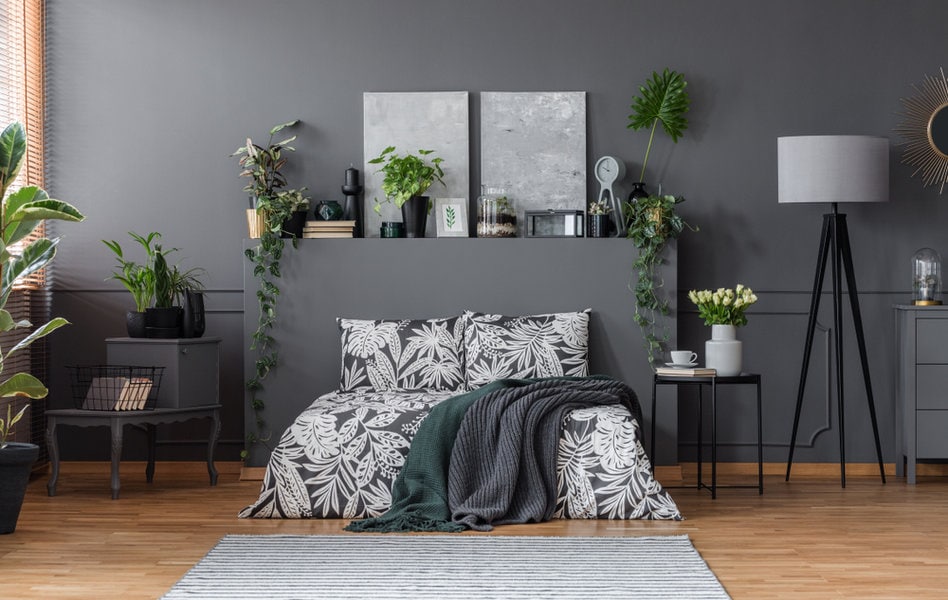
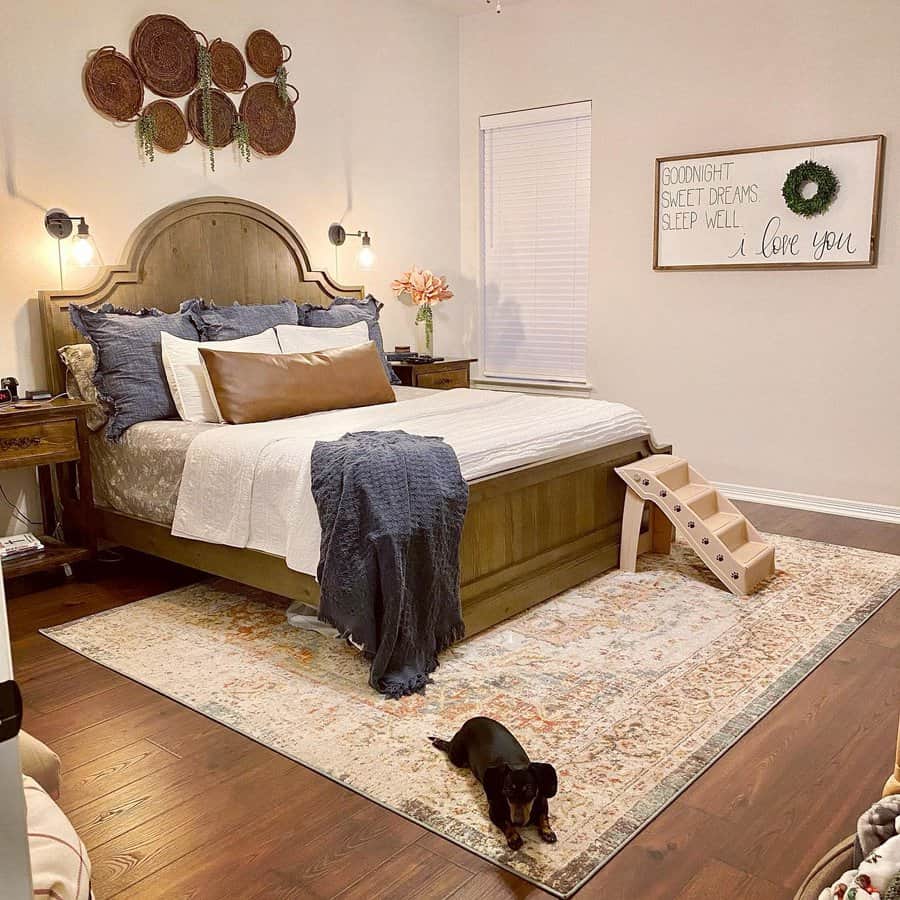
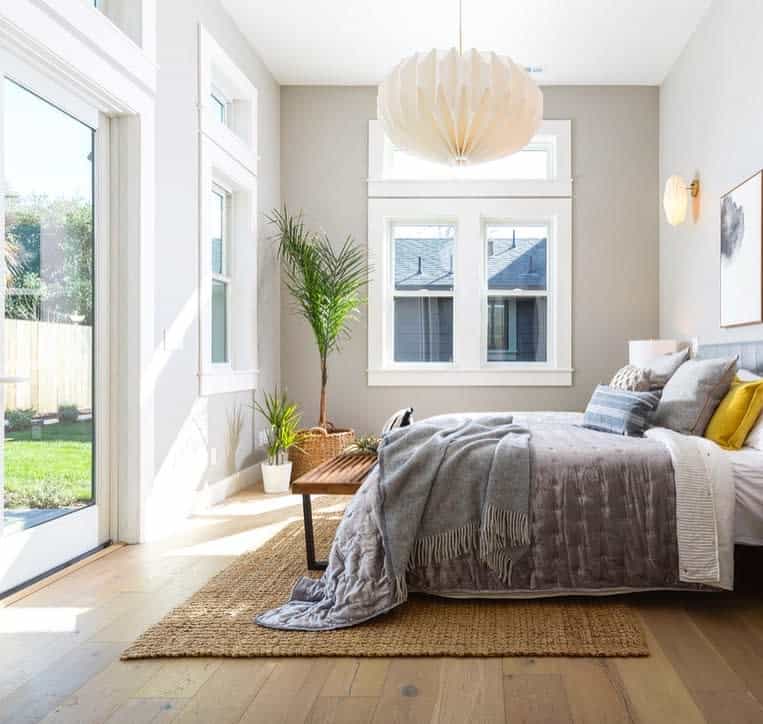
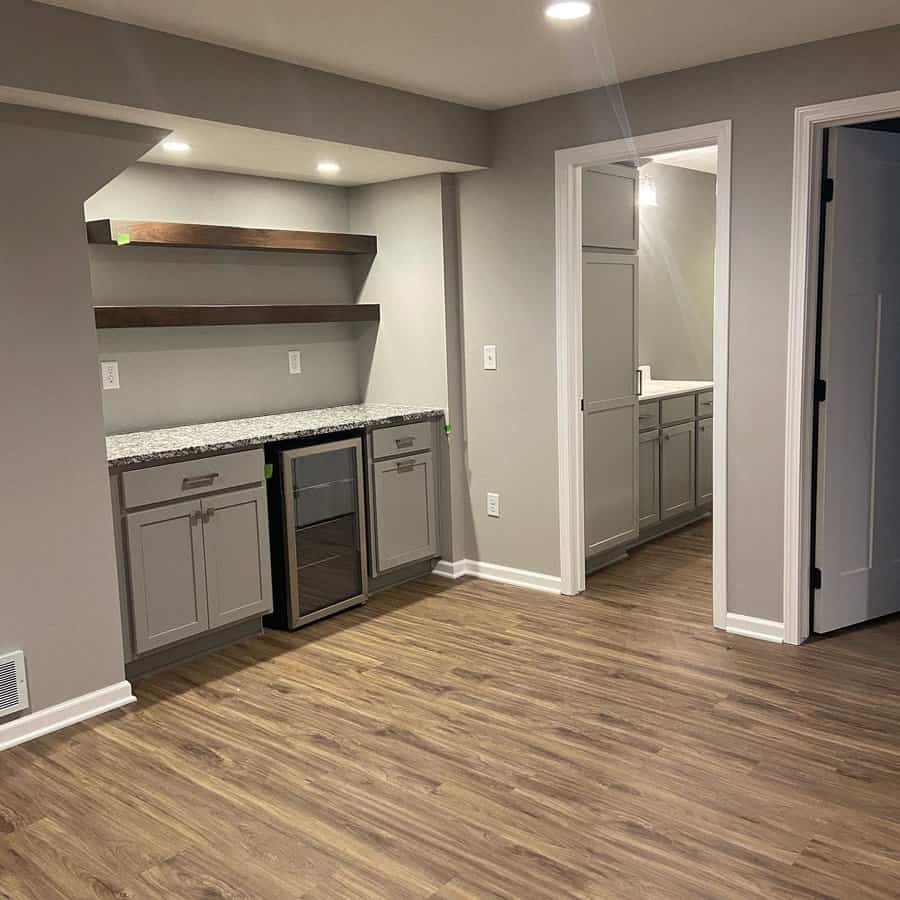
Light wood also looks fresh and bright with neutral wall colors. This gives your interior design mass appeal. Stick with shades of tan, beige, brown, or grey. These neutral colors pick up the natural colors in the wood. Do not choose all light colors, though.
This can make your design fall flat. Add highlights or accents of dark neutrals like chocolate brown or slate grey. This breaks up the space and helps define the different elements in the room.
You are also safe using light shades of any other color. The trick is using the right color for the type of wood and the room’s intended purpose.
For example, reds work well in kitchens and dining rooms because it stimulates appetite. However, it is a terrible choice for a bedroom because it’s stimulating, which is exactly the opposite of what you want when trying to go to sleep.
Similarly, reds will look beautiful with honey-colored woods like light red oak, beech, or hickory. However, it may not look as nice with white, ash, or maple.
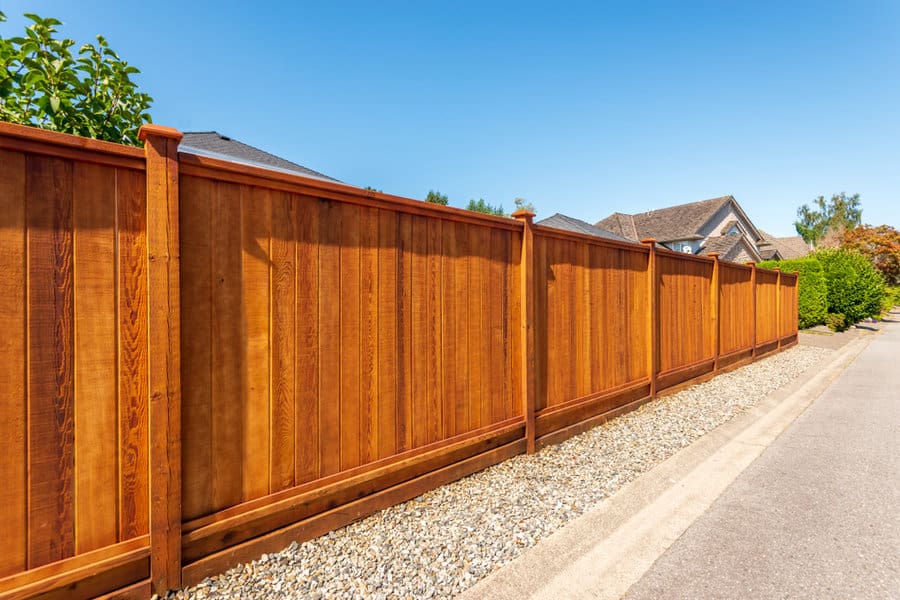
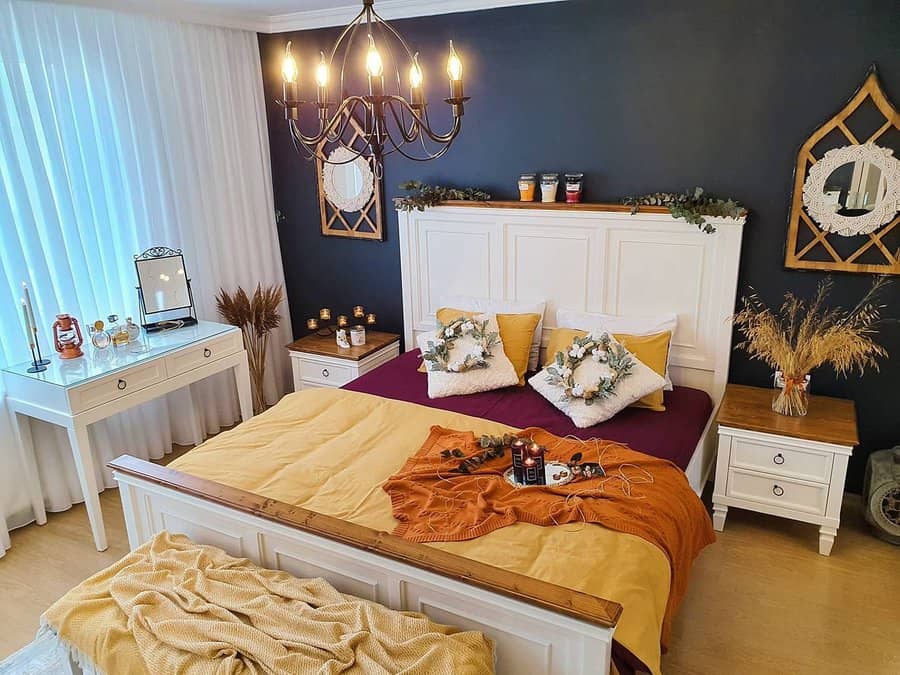
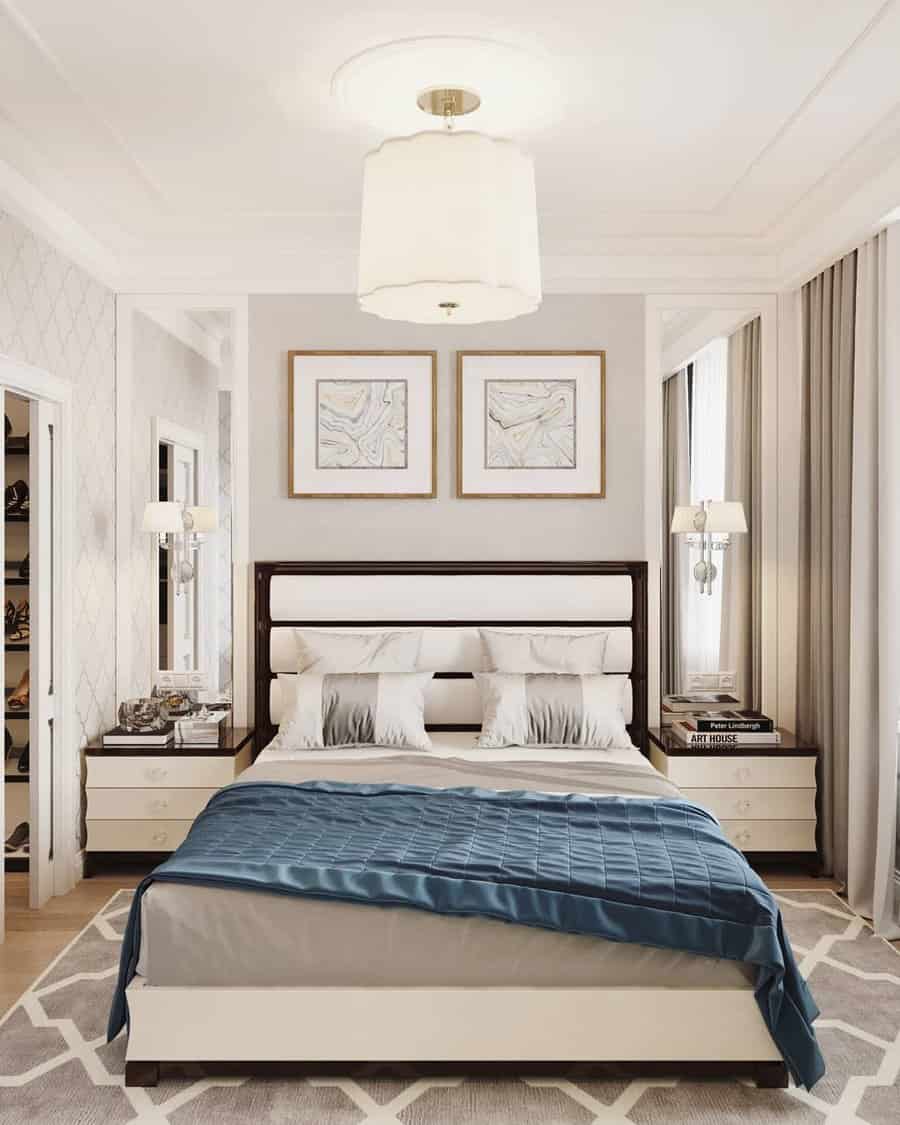
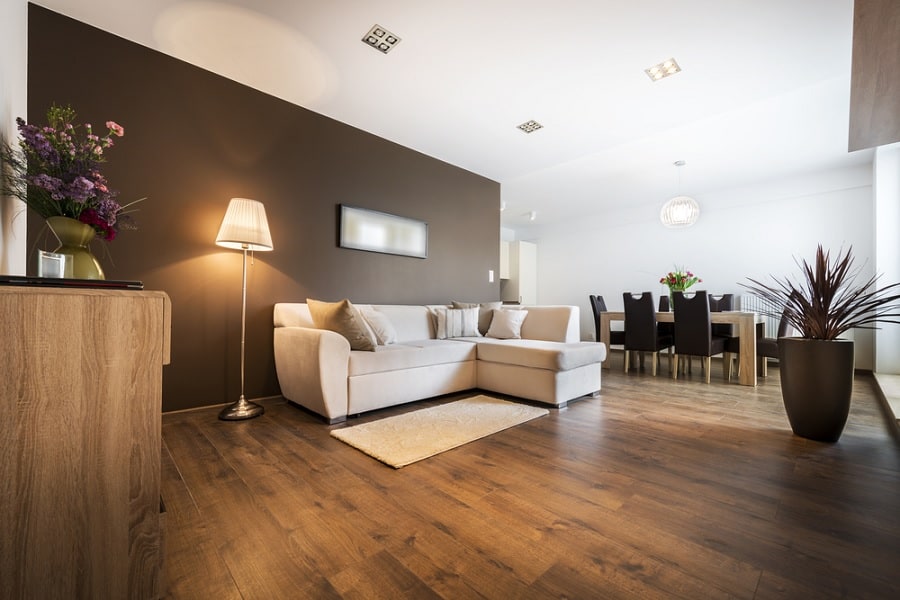
Dark Colors With Light Wood Floors
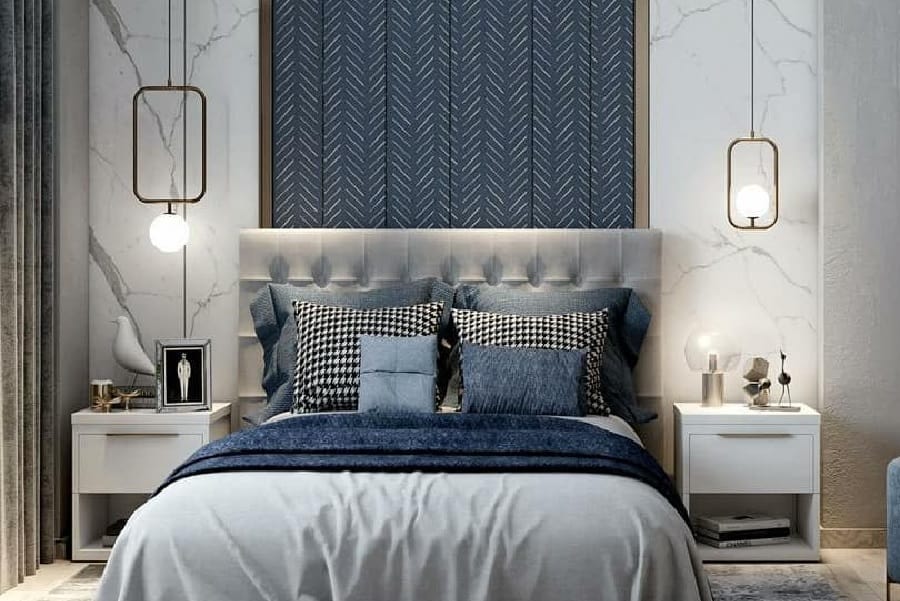
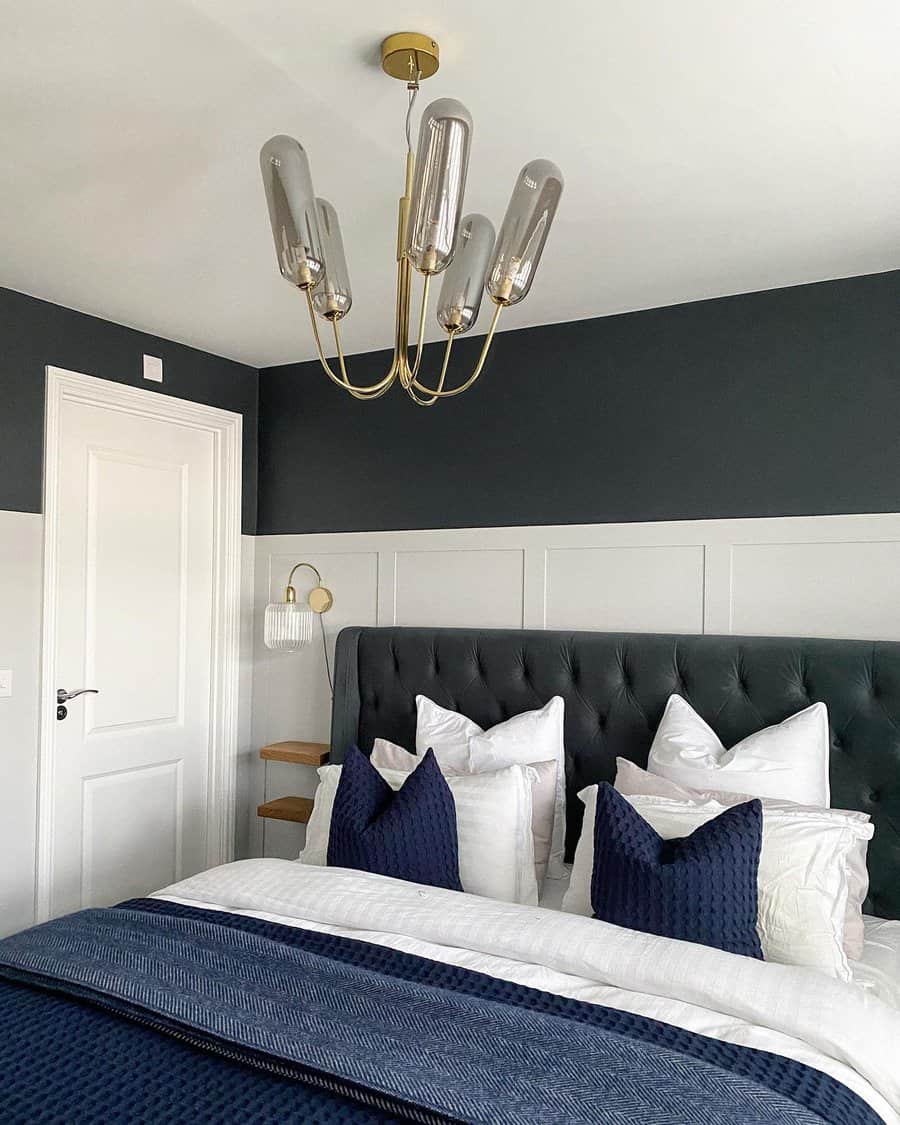
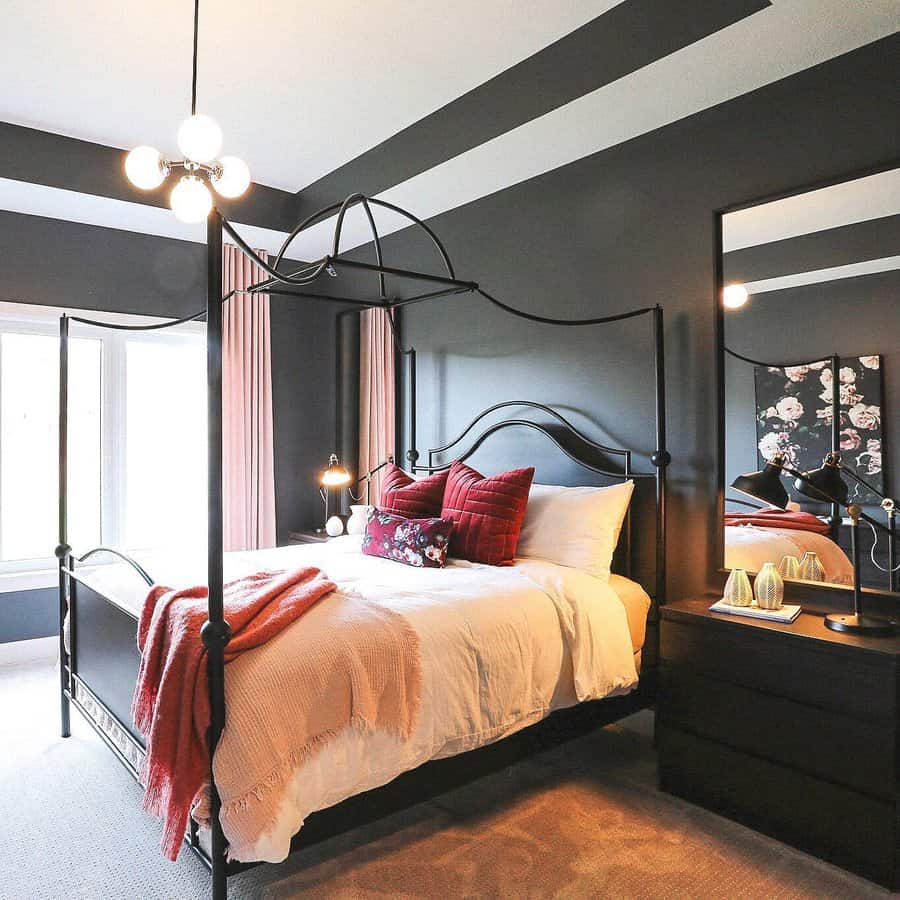
Some designers will tell you not to use dark walls with a light wood floor. Do not listen to them. You can make a bold statement with dark navy or charcoal walls and a light wood floor. Pair it with a clean minimalist or Scandinavian design and you have a room that is welcoming but with a mature and slightly subdued tone. Dark forest green walls with warm light wood floors look like elegant country chic.
Types of Light Woods
Wood that you will see in light wood flooring includes bamboo, birch, beech, hickory, white oak, ash, and maple. These woods can range from almost white to blonde and honey hues.
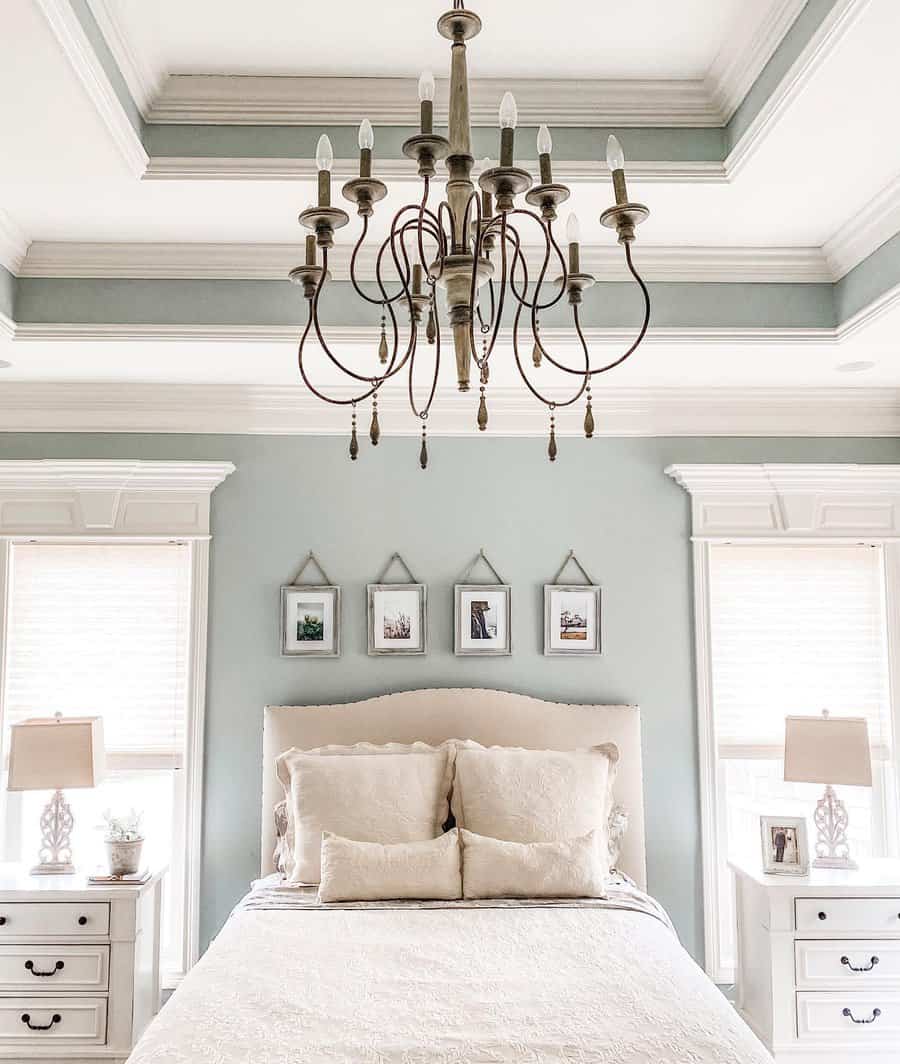
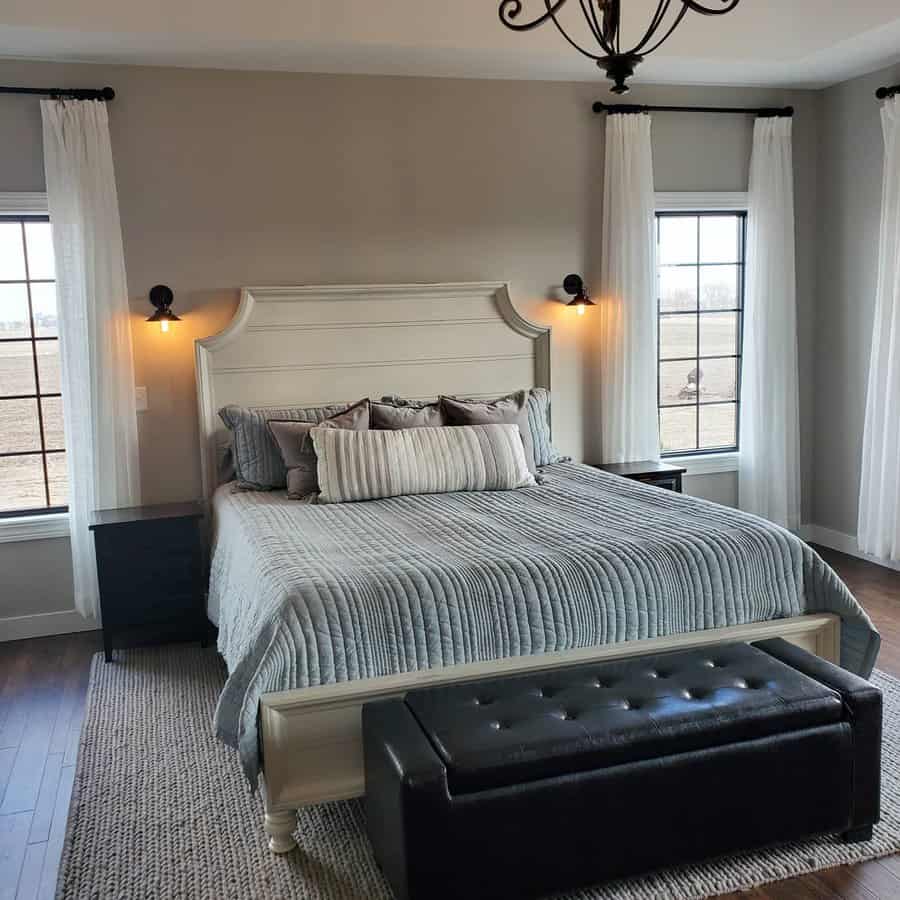
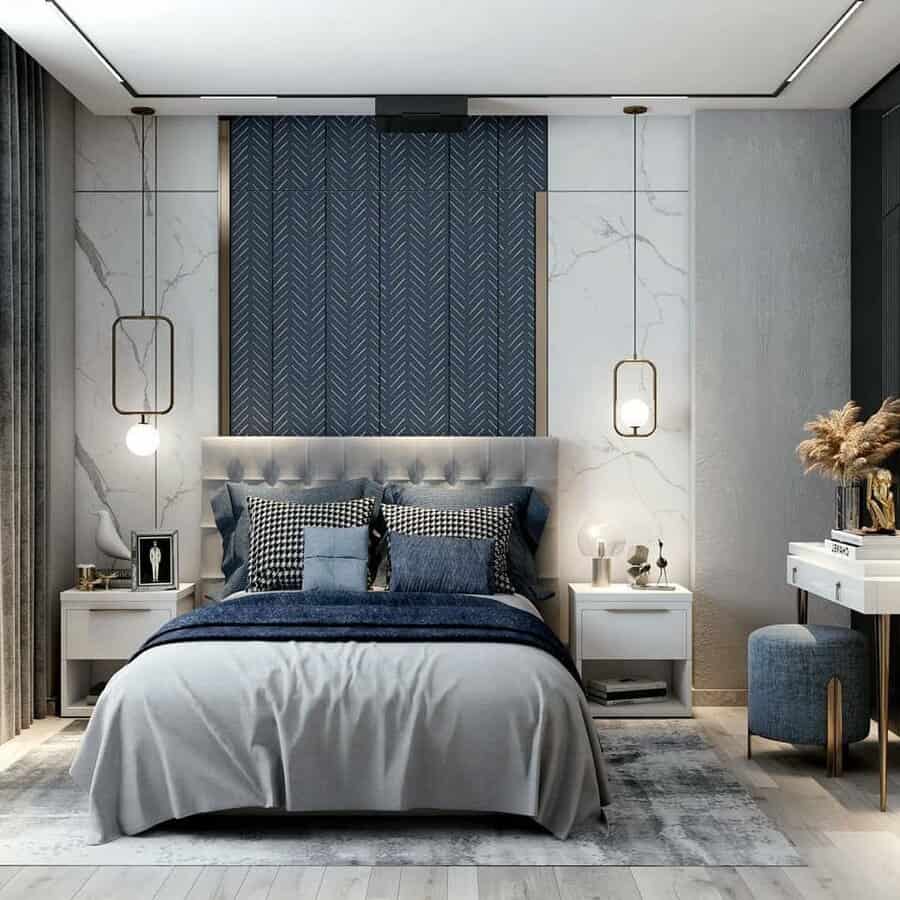
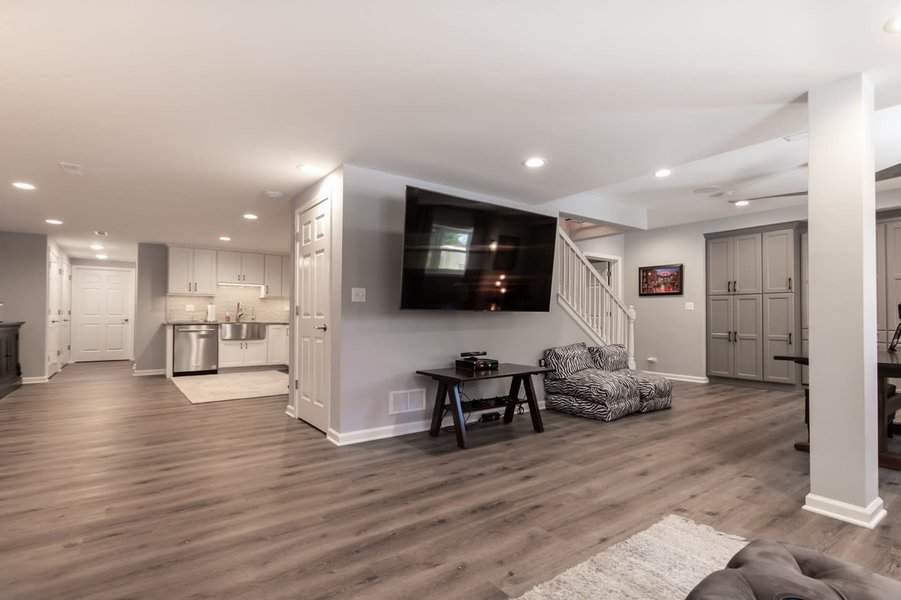
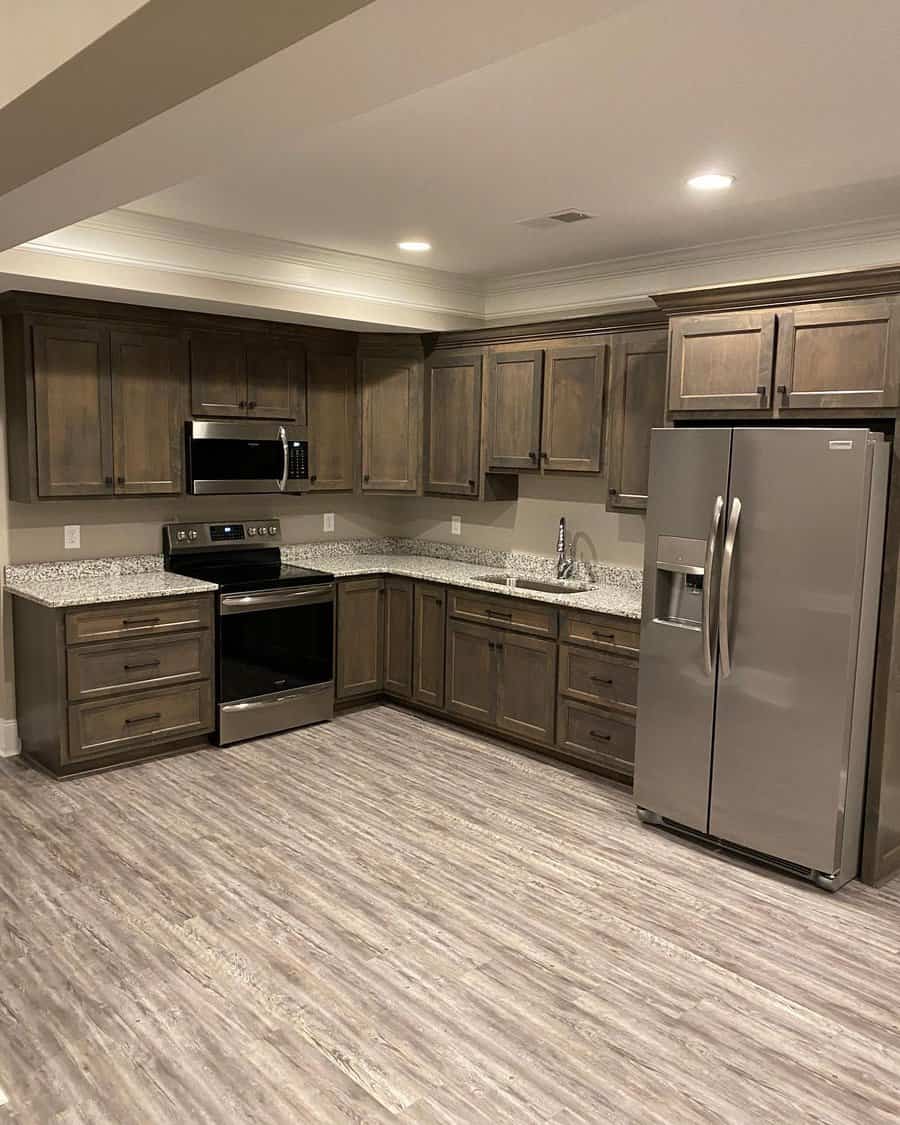
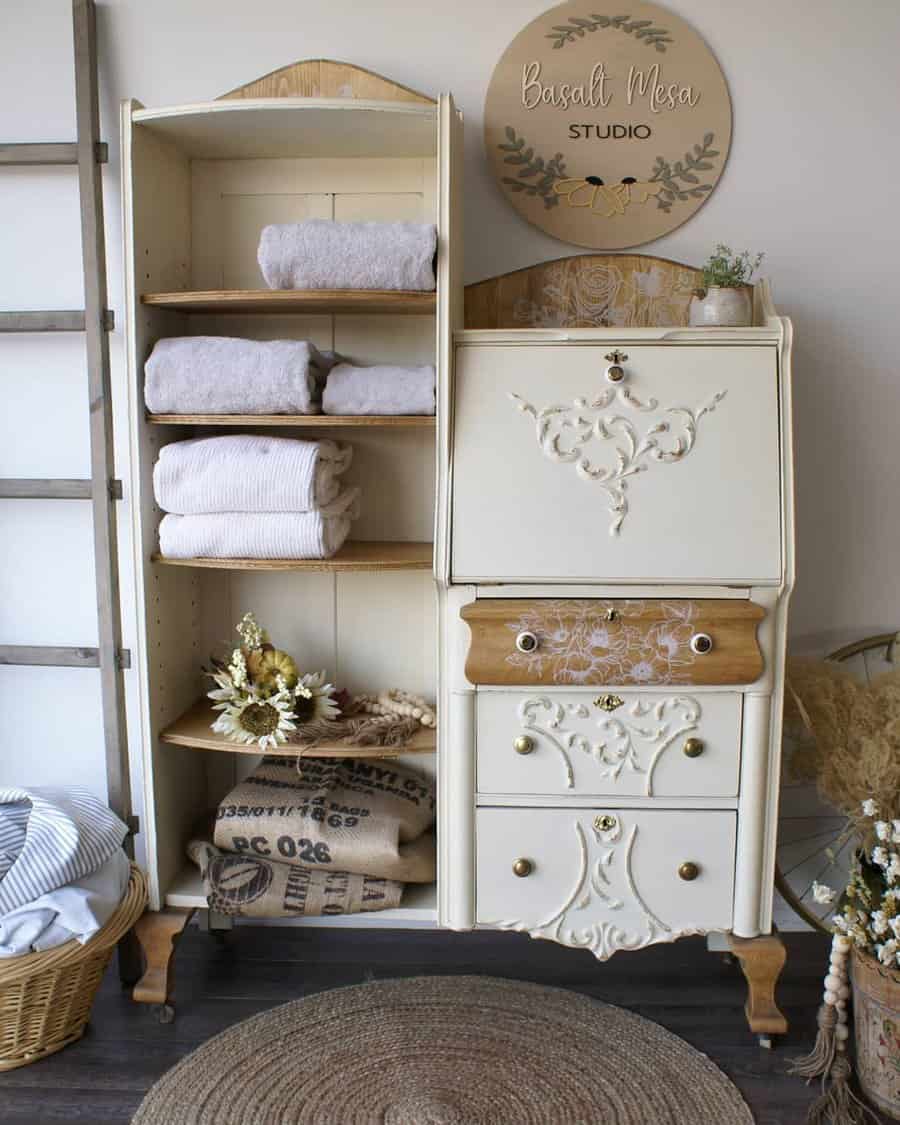
Medium Hardwood Flooring
Most people forget about these in-between woods, but there are some that just do not neatly fit into the light or dark category. Oak and cherry hardwood floor are good examples of this.
If you have these floors, you have a big advantage because you are free to use light and dark colors. Cherry is a reddish-brown wood floor color, so keep this in mind when choosing your color palette. Red, orange, yellow, and brown colors will look best with it.
Because these woods are not too dark or light, you are free to use both light and dark shades of colors. You can use muted or highly saturated hues, also.
A lighter color will help your room feel larger by making the darkest area in the room the floor. Darker colors can create a sophisticated feel and blend everything together.
Types of Medium Woods
Woods that make beautiful medium-toned flooring include oak, cherry, and maple. There are also some varieties of bamboo, ash, walnut, and mahogany that can fall into this category.
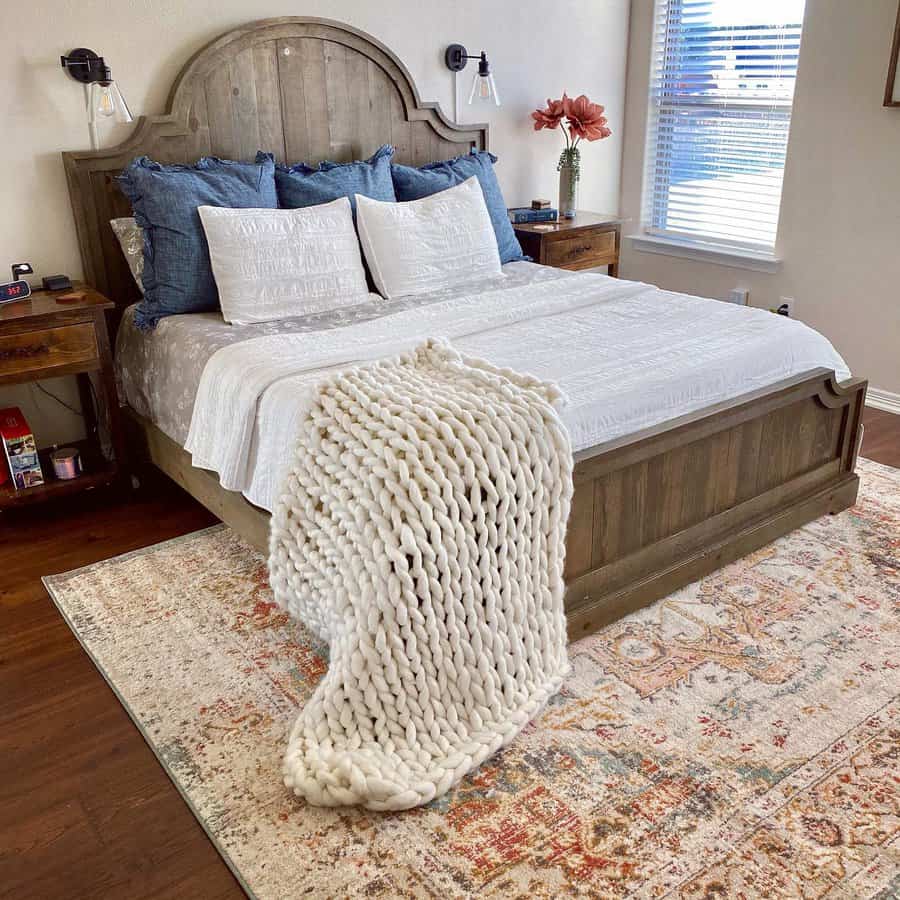
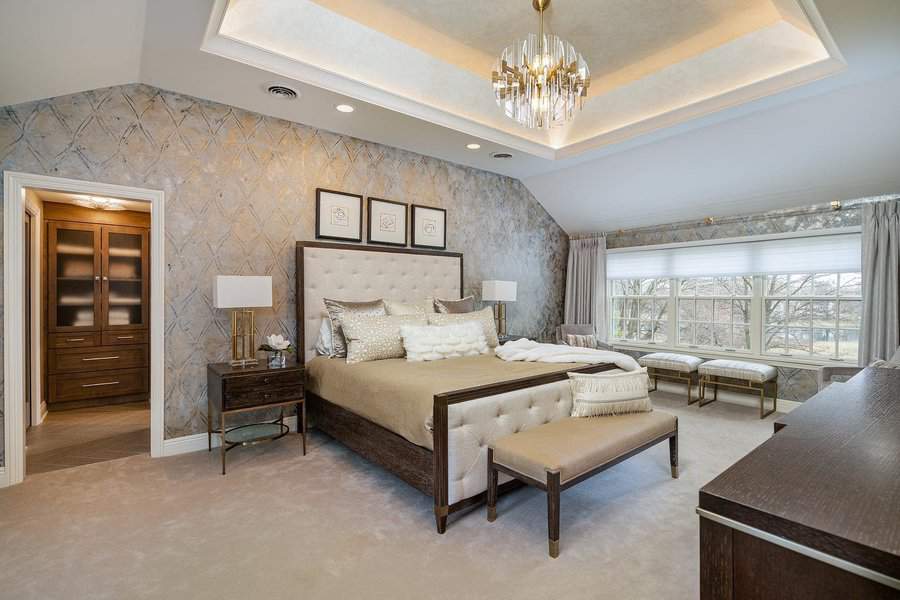
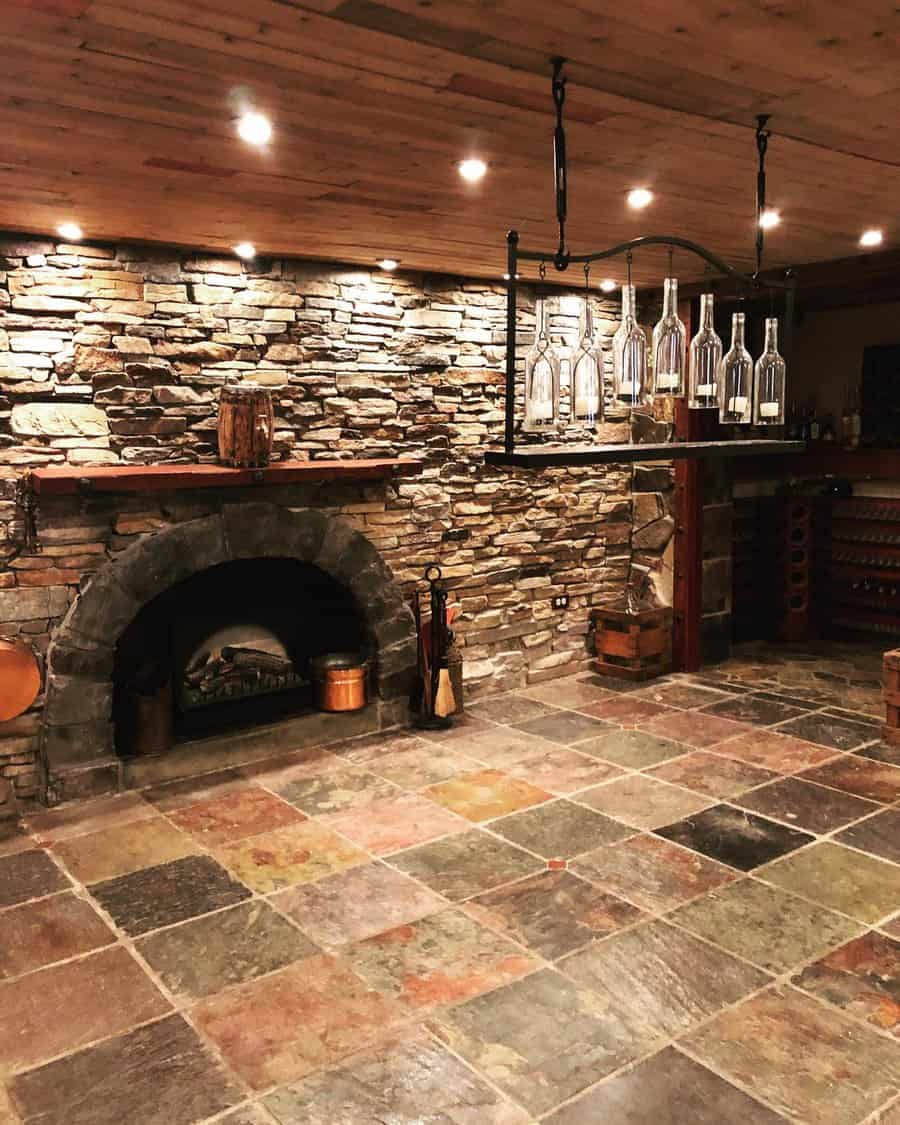
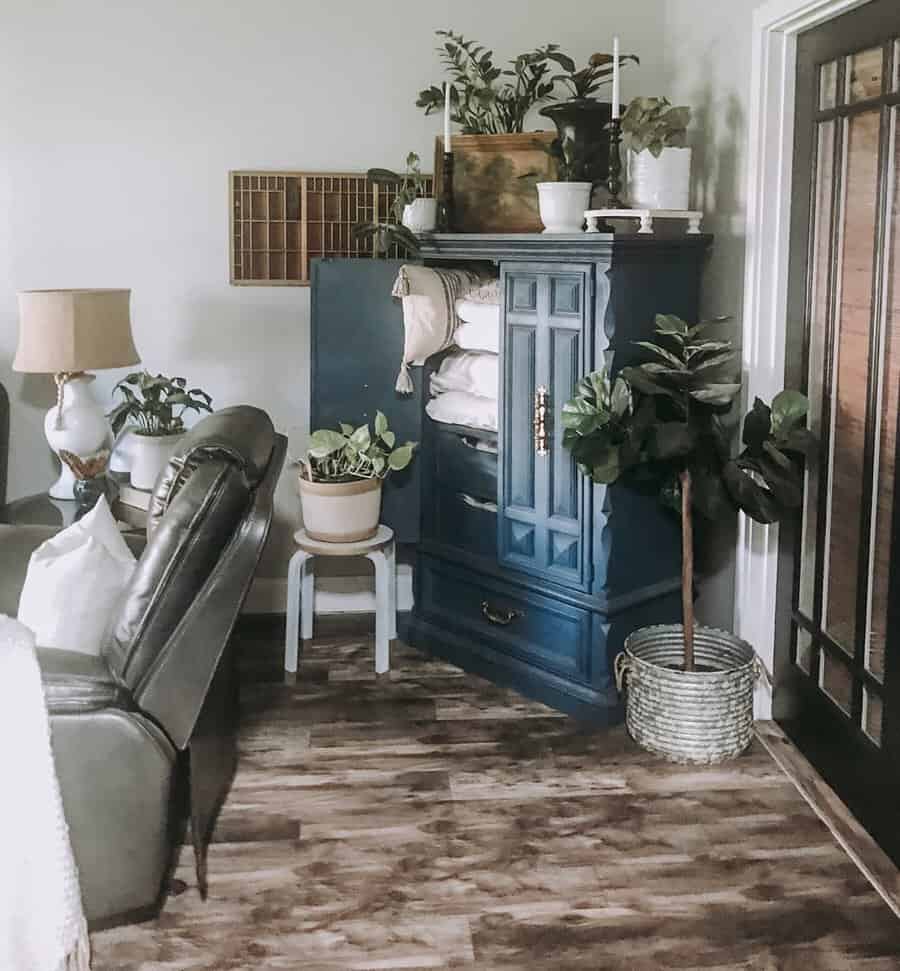
Dark Wood Look
Dark floors are an asset in your home because they are incredibly flexible when it comes to interior design. You can successfully pair your dark flooring with colors from both ends of the spectrum.
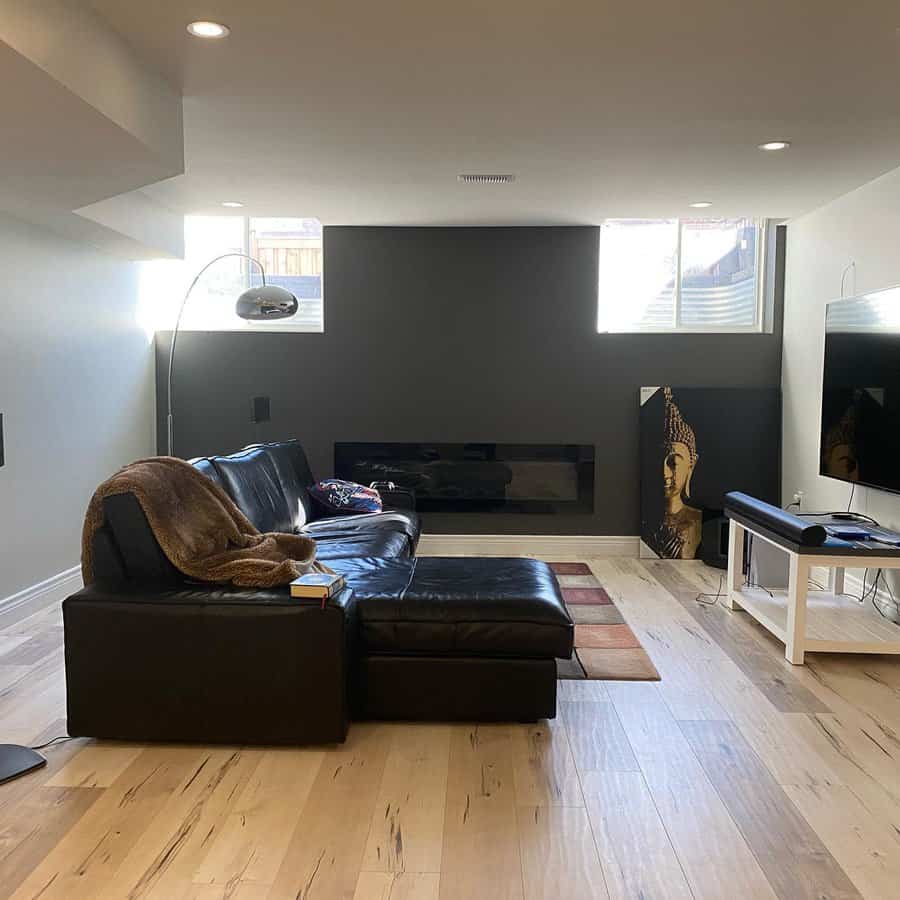
Light colors are perfect for creating a lot of contrast between light and dark. White walls help your room look larger by lightening up the space at eye level, while your dark hardwood floors bring down the weight of the room to the floor.
Pair your dark floors with dark wood trim and warm tones, and you have a color palette that is cozy and sophisticated.
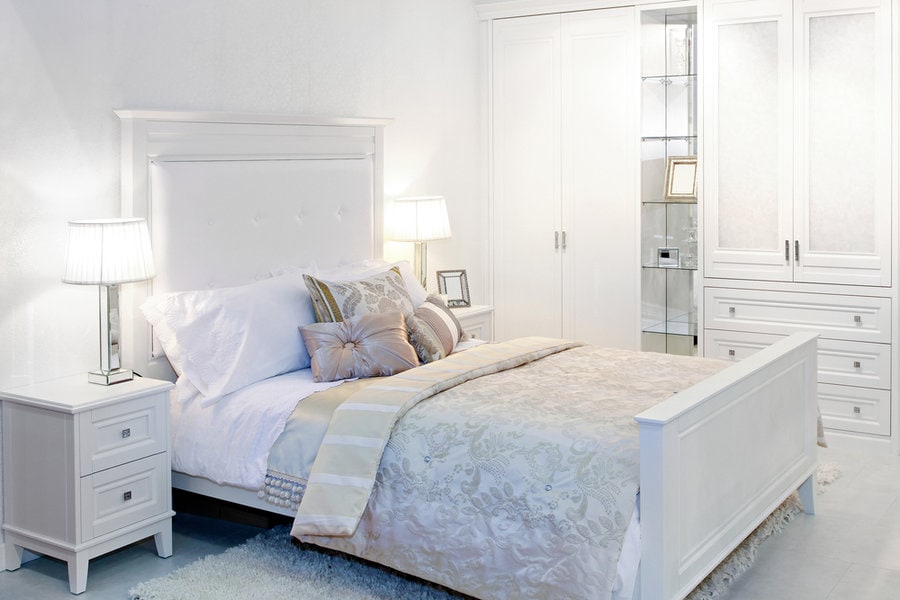
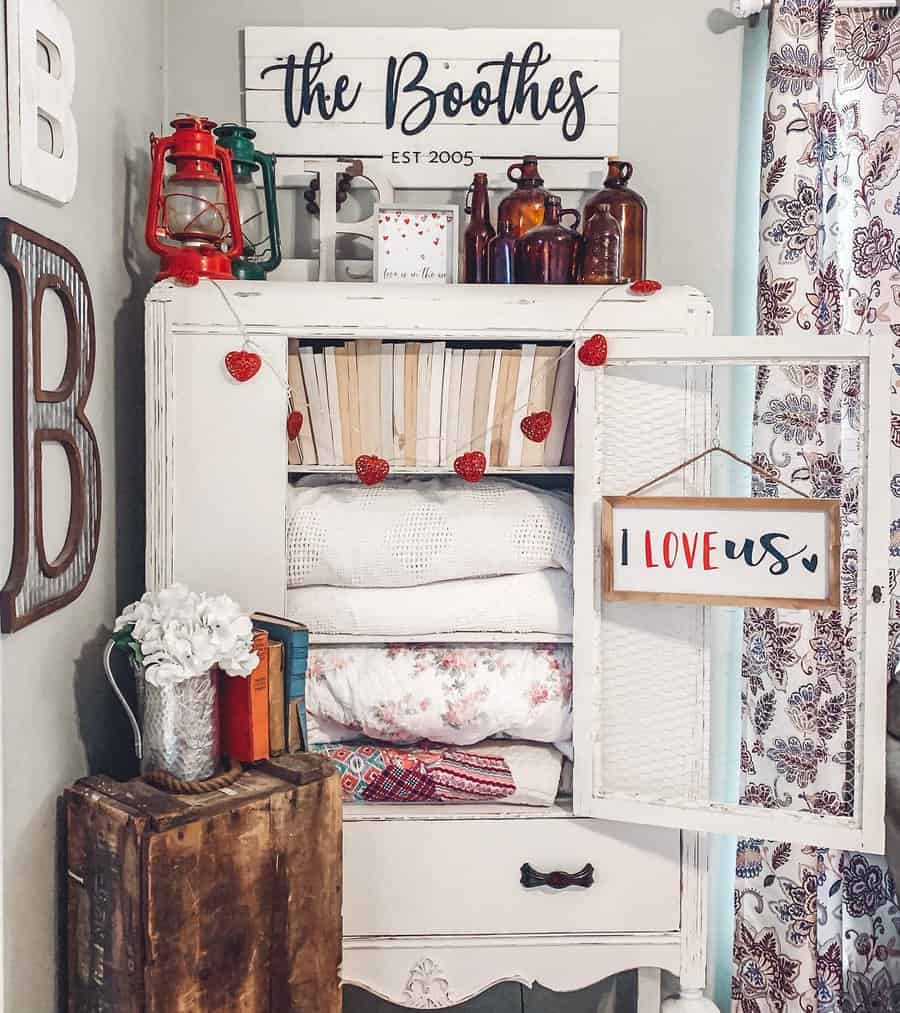
Light Colors
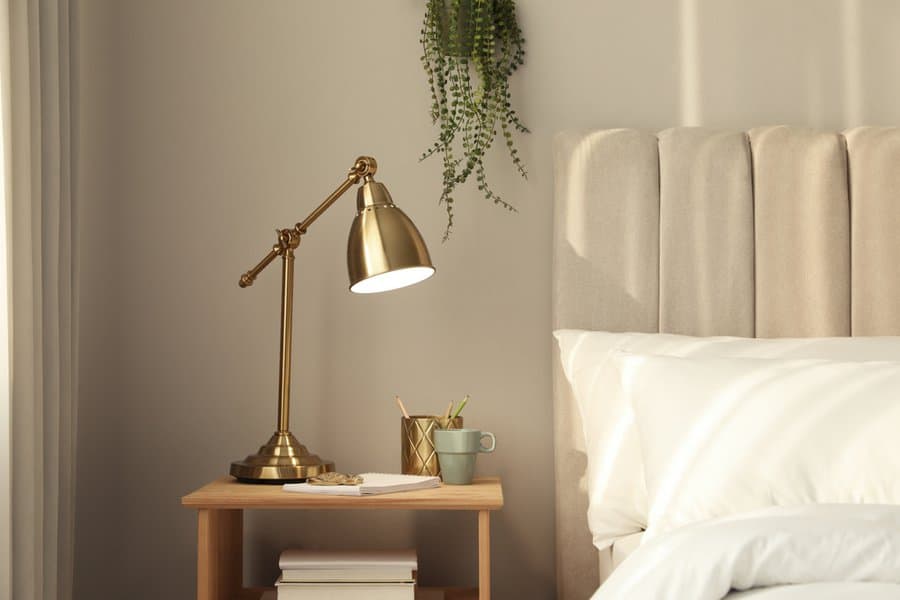
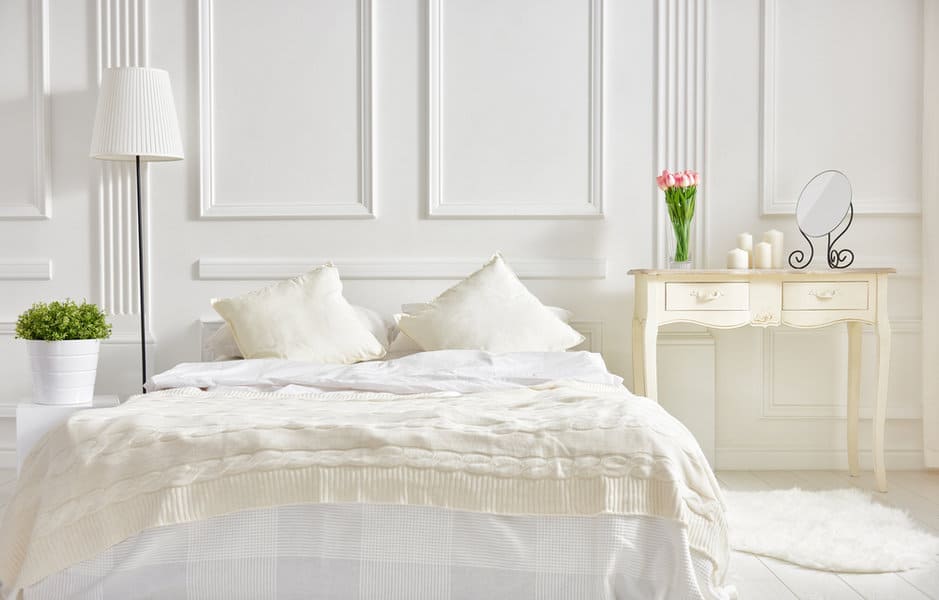
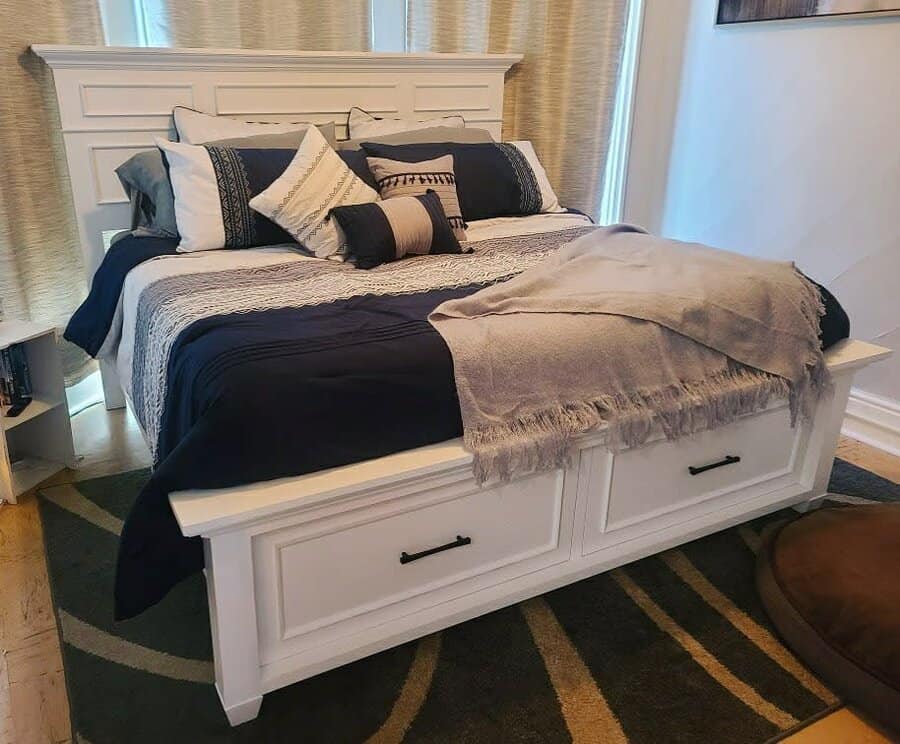
Light colors will soften the richness of the dark wood and help brighten the room. Classic color choices are white, cream, and beige.
These light neutrals add a lightness to your room while helping it to feel larger. The warm undertones can bring out the warm tones in the wood, bringing out its full beauty. These colors help your home to feel modern or contemporary.
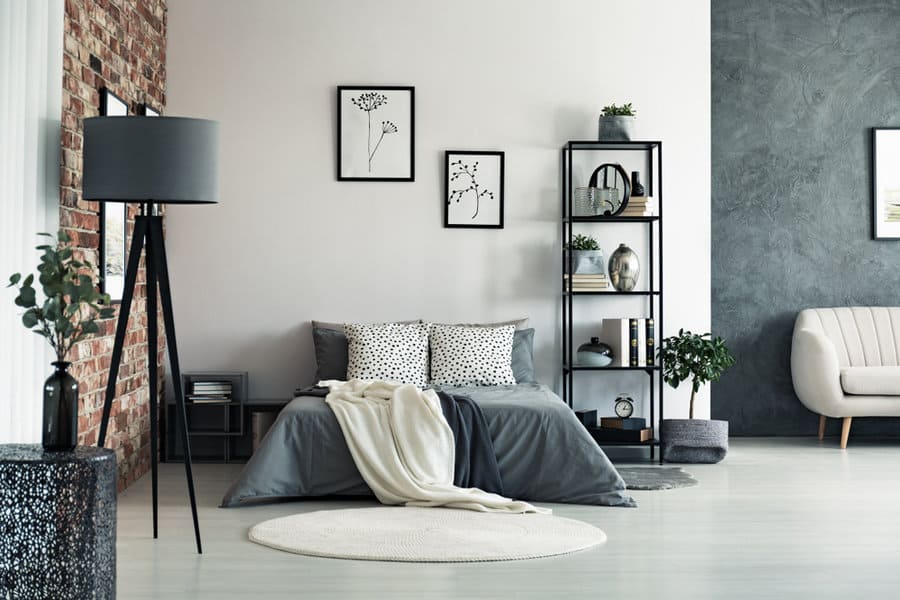
Soft greys can create a dramatic effect that adds dimension to your room. In addition, the combination of the dark and light creates a versatile base for more creative decor choices.
Dark Colors
Earthy greens and browns can complement your dark wood flooring for a traditional feel. Deep jewel tones add a sense of opulence when paired with rich, dark-hued wood. These colors are highly saturated and can stand up to the deep hues of the dark wood.
Types of Dark Woods
Woods that make beautiful dark wood flooring are walnut, mahogany, rosewood, red oak, and ebony. There are also some dark species of teak.
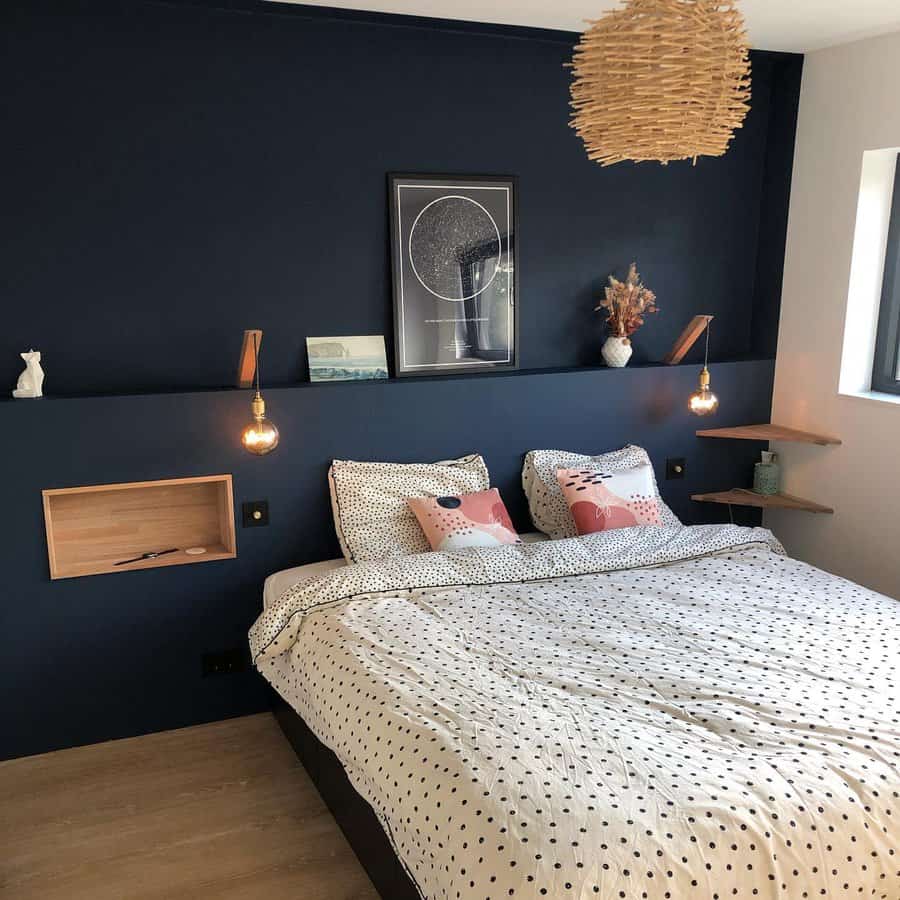
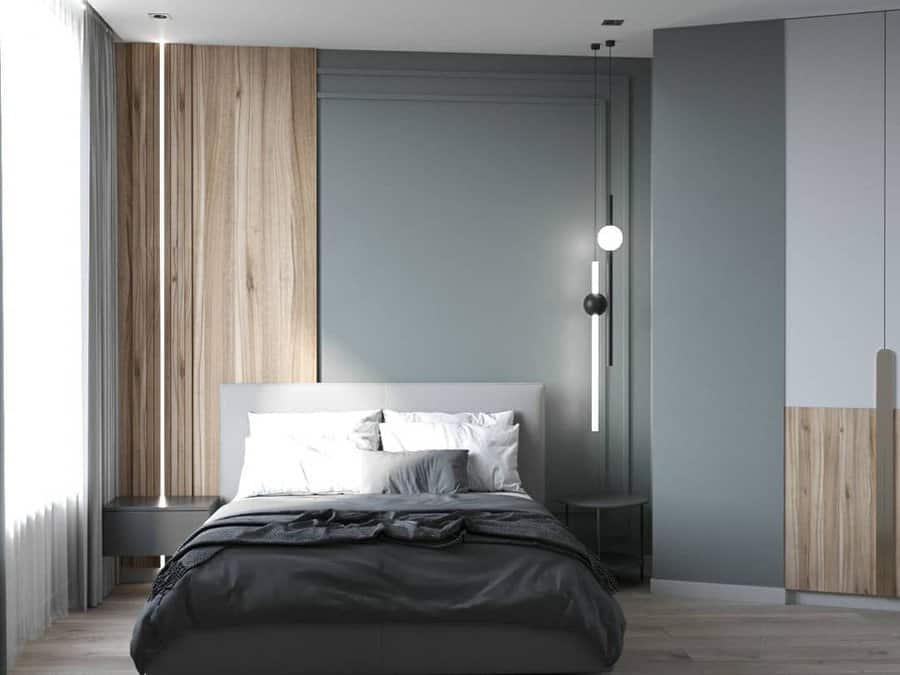
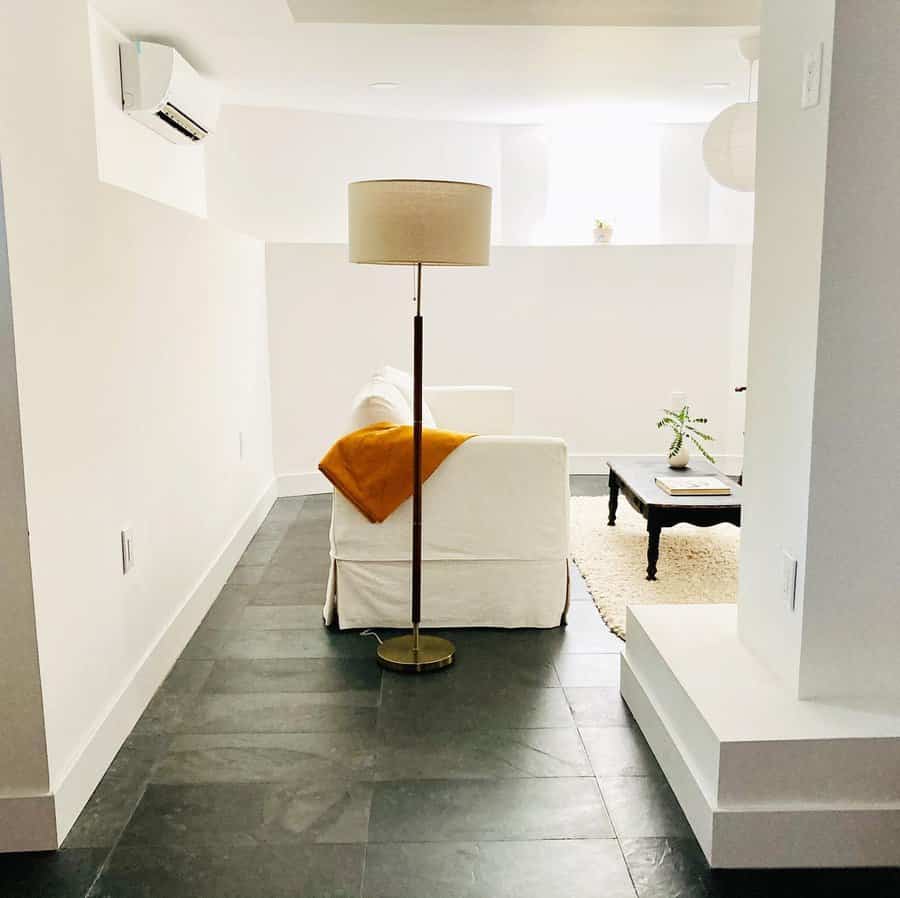
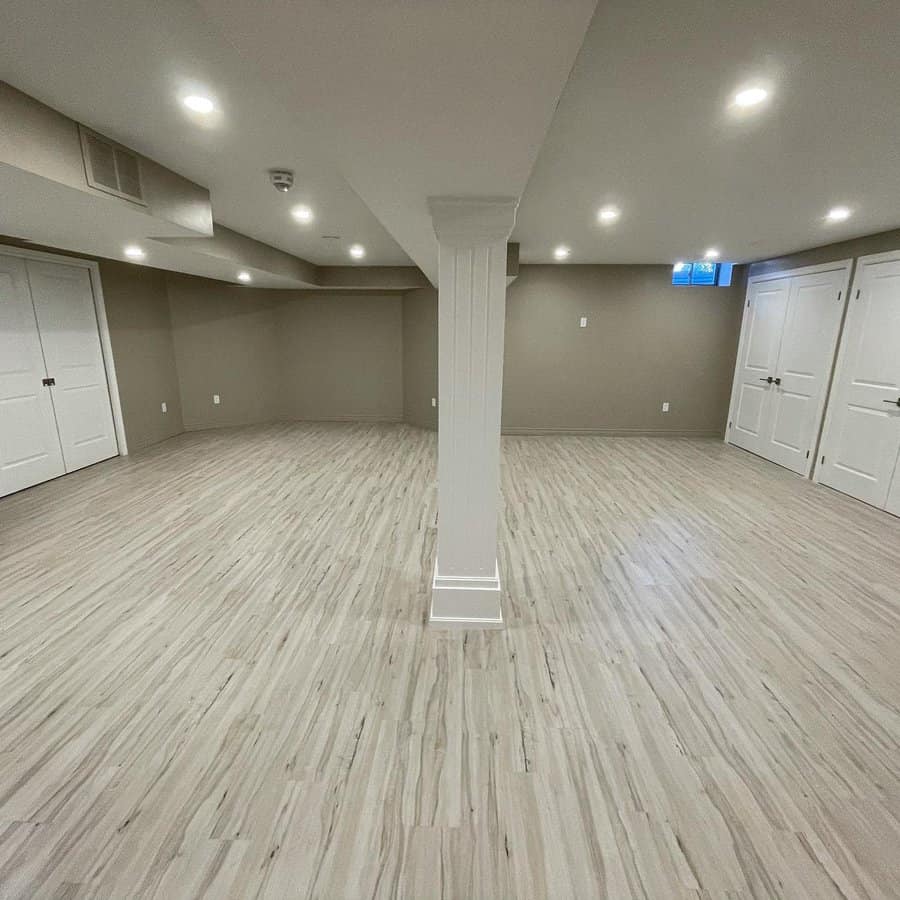
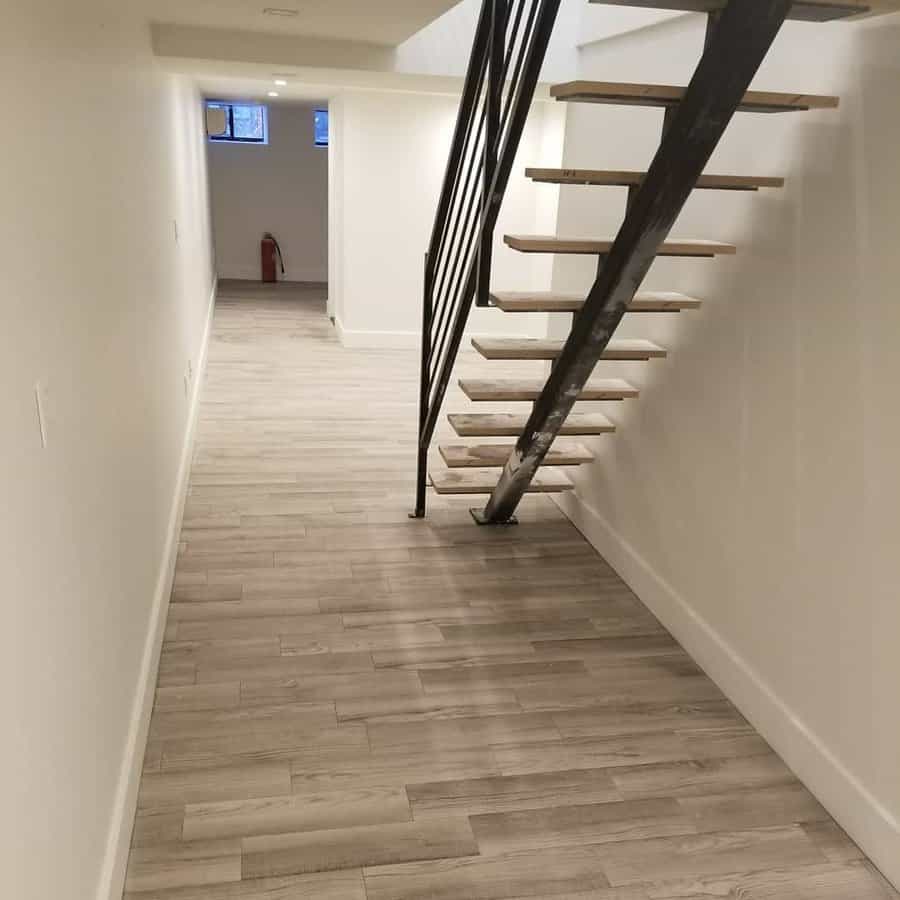
Grey Wood Flooring


Grey flooring has cool undertones, so you are safe pairing these floors with blue, green, purple, black, white, or grey walls.
Grey wood tends to be multidimensional, so you can safely pair it with any shade of grey, from the palest of greys that are practically white to deep charcoal greys that are almost black. A blue and white combination will give your room a soothing coastal vibe where the grey floors channel the look of driftwood.
Don’t be afraid to paint your walls a dark color. It has a similar effect as the light wood floors. A charcoal grey like this could give your room a sleek and modern feel.
Jewel tone teal and blues can give your room life and elegance. If you want to use a warm tone, try a muted mauve that will blend a bit better with the light grey tones.
Types of Grey Wood
You will find grey flooring in various wood varieties, including ash, hickory, oak, and maple. These woods are not naturally grey, but you can find laminate flooring that features the grains of these woods with a grey hue.
Do Not Overlook Undertones
While considering light, medium, and dark is a good start, it is not the end of your analysis of your wood flooring. Look beyond this superficial quality and pay attention to the undertones of your floor.
No variety of wood is a plain brown color. There is a base, shadows, and highlights throughout. Look at these and figure out the wood tone as a whole. There could be hues of golden yellow, beige, pink, orange, and red.
Knowing what these undertones are can help you decide on the best color combination for your floors. Warm colors look perfect for red and pink undertones. Cool floors will look better with blues and greens.
To figure out what the undertones are in your wood floor, hold colored objects up to it. Work your way through the color wheel and you will find one that closely resembles it. You will know the undertone color when you see it.
Take the Color Contrast Approach
Not being afraid of contrast is what makes your interior design stand out. To choose the right paint colors for this, start by knowing the wood’s undertone. Then, choose a color that is on the opposite side of the color wheel.
For example, if your floors have red tones, then use greens on your walls or decor. If your wood floor has yellow undertones, you can contrast that with purples. This is not about choosing between light and dark walls and instead focuses on color theory.
Use Analogous Colors
Instead of choosing colors that are opposites sides of the color wheel, choose colors that are next to each other. You will choose a group of three colors. For example, you could have a combo of red, orange, and yellow or a combo of yellow, green, and blue.
Let the undertones in the wood direct you to which three colors you should use. For example, if your wood has yellow undertones, then you can start with a yellow wall paint like this.
Doing this ties the room together and ensures the wood flooring blends with the rest of the colors in the room.
Accent Walls Can Create Balance
The best wall color balances with the wood floor. Think beyond the actual color to whether it is light or dark. If you have a light grey wood floor and you choose light grey for the walls and furniture, then you have a room that blends together and behind to look flat.
Create a balance between light and dark to create depth and dimension. Adding light and dark visually breaks up the space and adds layers to the room.
Consider Your Furniture
So far, we have focused on the floor and wall color. However, there is more to your room than just these two elements. There is the other furniture and the decor. If you have wood furniture in addition to your wood flooring, then you have to consider this wood in addition to your floor.
You could choose the perfect colors for your dark wood floor, but they clash with your light wood furniture. You may need to rethink the light furniture, not your color choice. Typically, people choose either light or dark wood and then stick with it for the entire room.
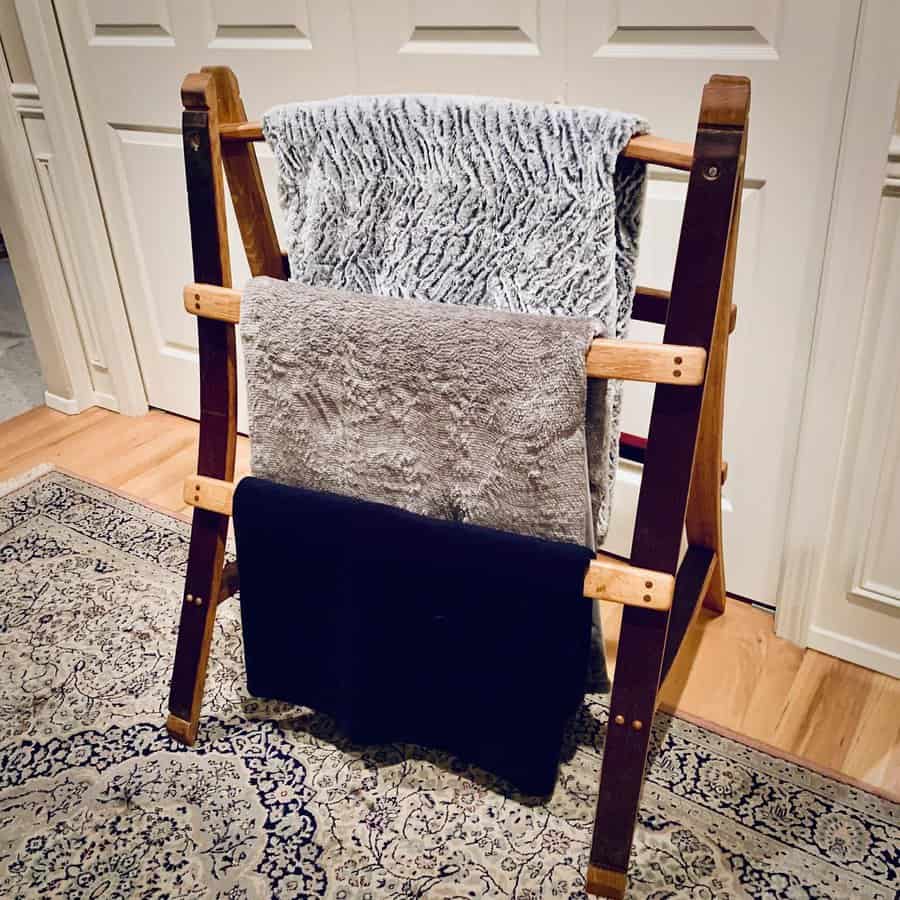
Another consideration is if you choose to use an area rug. If you have light wood floors and you place a large dark-colored area rug over them, you are changing the dynamics of the room.
Similarly, dark floors with a large light-colored area rug like this instantly become lighter. The dark color that you originally thought would make the room too dark is now balanced well with the light rug.
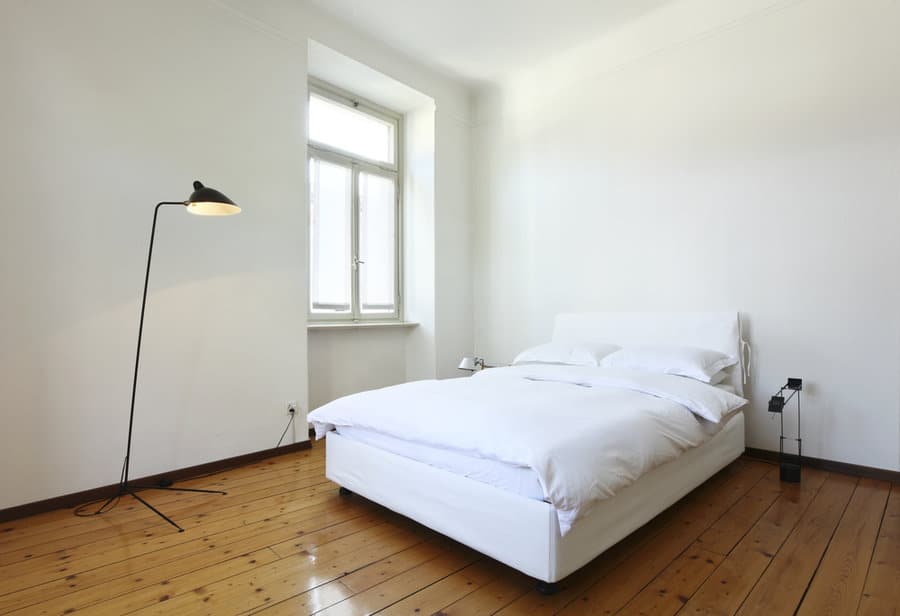
Should Floors be Darker or Lighter Than Walls?
There is no hard-set rule for this. Light walls with dark floors keep your room from feeling too heavy and weighted. However, dark walls paired with dark floors create a moody feel that can be a bit masculine.
Light floors and light walls look bright and airy for a welcoming design. However, dark walls and light floors is a unique combination that will create some serious depth.